Are you tired of your car seats looking worn out or lacking personality? Making your own car seat covers can be a game-changer.
Not only does it allow you to infuse your style into your vehicle, but it also protects your seats from everyday wear and tear. Imagine cruising around with seat covers that are not just functional but uniquely yours. In this guide, you’ll discover step-by-step instructions that are easy to follow, even if you’ve never sewn a stitch before.
By the end, you’ll feel confident and excited to transform your car’s interior. Let’s get started on giving your car a fresh, personalized look!
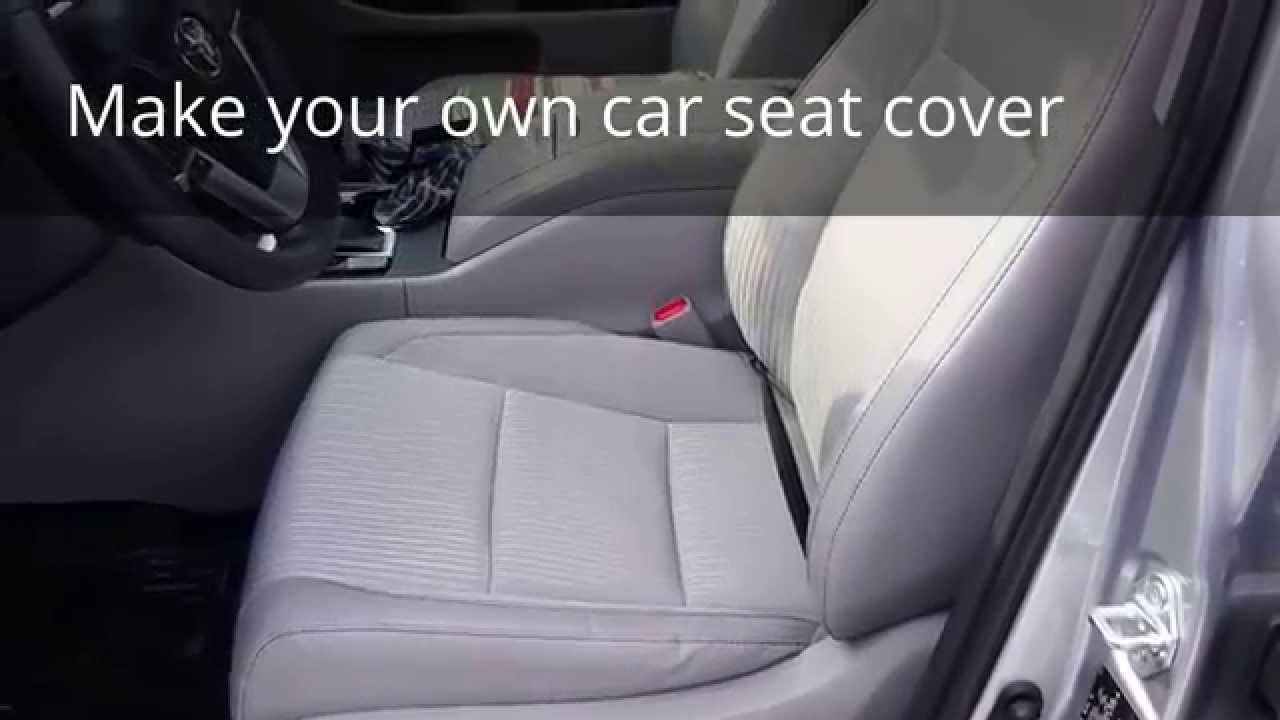
Credit: www.youtube.com
Materials And Tools Needed
Creating your own car seat covers is a rewarding project. It lets you personalize your vehicle’s interior. Before starting, gather the right materials and tools. This ensures a smooth process and great results. Let’s dive into what’s needed.
Fabric Selection
Choose durable fabric for your seat covers. Consider materials like leather, polyester, or neoprene. Each offers unique benefits. Leather adds a touch of luxury. Polyester is easy to clean. Neoprene is water-resistant and perfect for active lifestyles.
Foam Padding
Foam padding enhances comfort. Select high-density foam for the best support. It maintains shape over time. Ensure the foam fits the seat size. This prevents wrinkles and adds a professional look.
Thread And Needles
Use strong thread that matches your fabric color. Heavy-duty needles are ideal for sewing car seat covers. They handle thick fabrics without breaking. Ensure you have extra needles on hand.
Sewing Machine
A good sewing machine is essential. It speeds up the process and ensures clean stitches. Choose one with adjustable settings. This helps manage different fabric types and thicknesses.
Measuring Tape
Precision is key for a snug fit. Use a measuring tape to take accurate measurements. Measure twice to ensure accuracy. This avoids mistakes and wasted material.
Scissors
Invest in sharp scissors. They make cutting fabric easy and precise. Avoid dull blades. They can ruin the fabric edges and create uneven cuts.
Pins And Clips
Pins and clips hold the fabric in place while sewing. They prevent shifting and ensure straight seams. Use them generously. They make the sewing process smoother and more accurate.
Chalk Or Fabric Marker
Mark your fabric with chalk or a fabric marker. This guides your cuts and stitches. Choose a marker that doesn’t bleed through the fabric. Ensure marks are visible but easy to remove.
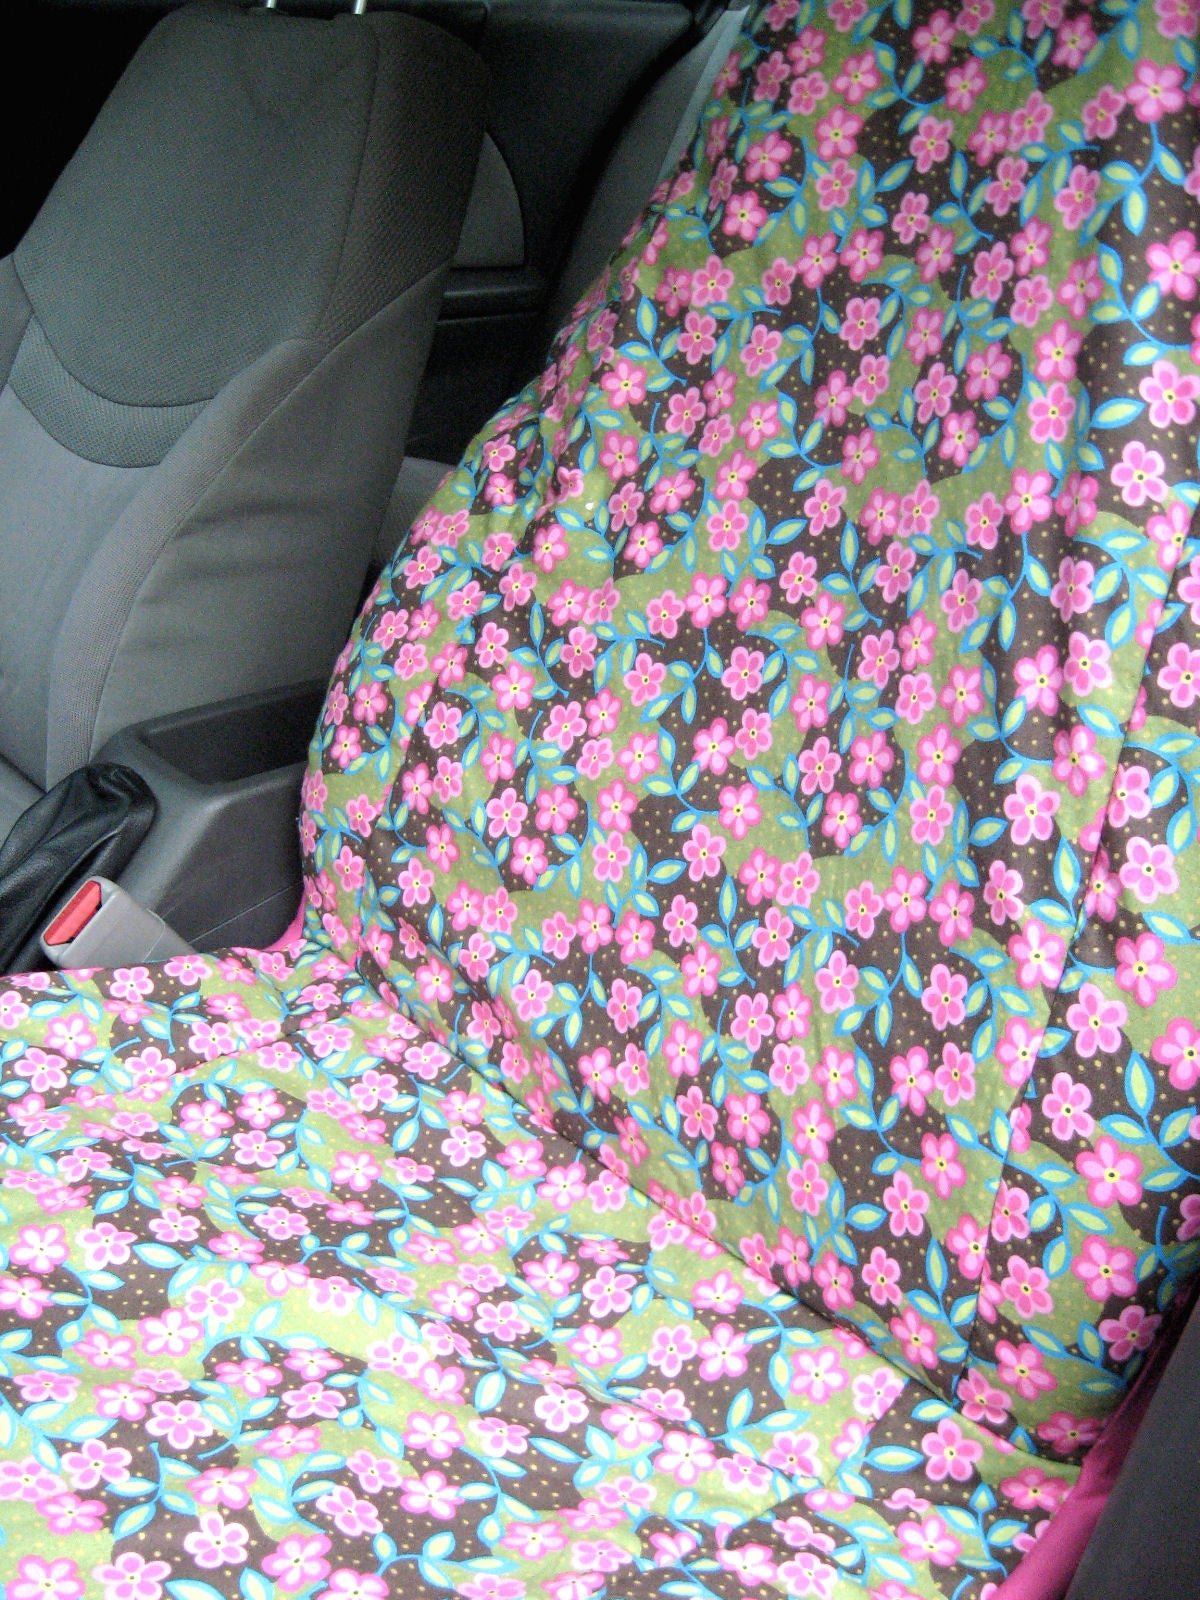
Credit: www.chicaandjo.com
Choosing The Right Fabric
Choosing the right fabric for car seat covers is essential. The fabric determines comfort, durability, and style. Good fabric protects the car seats and enhances the interior look. It’s important to consider various factors when selecting the fabric.
Understanding Fabric Types
Fabric types vary in texture and durability. Some fabrics resist stains. Others offer comfort and luxury. Common choices include leather, neoprene, and polyester. Each has unique benefits for car seat covers.
Leather: Classic And Durable
Leather exudes luxury and elegance. It’s durable and easy to clean. Leather suits those seeking a classic look. But, it can be pricey and may heat up in the sun.
Neoprene: Water-resistant And Tough
Neoprene is ideal for active lifestyles. It’s water-resistant and protects against spills. Neoprene is also durable, perfect for families with kids. It’s a great choice for outdoor enthusiasts.
Polyester: Affordable And Versatile
Polyester is budget-friendly and versatile. It comes in various colors and patterns. Polyester is easy to clean and maintain. It’s suitable for those seeking style without breaking the bank.
Factors To Consider
Think about your lifestyle and needs. Consider how often you use your car. Factor in pets, children, and climate. Choose a fabric that meets your specific requirements.
Measuring Your Car Seats
Start by measuring your car seats carefully. This ensures your homemade covers fit perfectly. Use a tape measure to get the width, length, and depth of each seat. Accurate measurements help in creating snug and stylish seat covers.
Measuring your car seats is the first step to make seat covers. Accurate measurements ensure a perfect fit. This helps in creating custom covers that suit your car’s interior. Follow these simple steps to measure your car seats correctly.
Gather Your Tools
Start with the right tools. You need a measuring tape, paper, and pencil. A flexible measuring tape works best for curved surfaces. Keep these tools handy throughout the process.
Measure The Seat Width
Begin with the seat width. Stretch the tape from one side to the other. Record the measurement accurately. This ensures the covers fit snugly over the seat.
Measure The Seat Depth
Next, measure the depth. Place the tape at the back of the seat. Extend it to the front edge. Write down the measurement. This step is crucial for comfortable covers.
Measure The Seat Back Height
Now, measure the back height. Start at the bottom of the seat back. Pull the tape up to the top edge. Note this measurement carefully. It helps in creating covers that fully protect the seat.
Measure The Seat Back Width
Finally, measure the back width. Stretch the tape from left to right. Ensure it covers the widest part of the seat back. Record this measurement. This ensures the covers fit well without bunching.

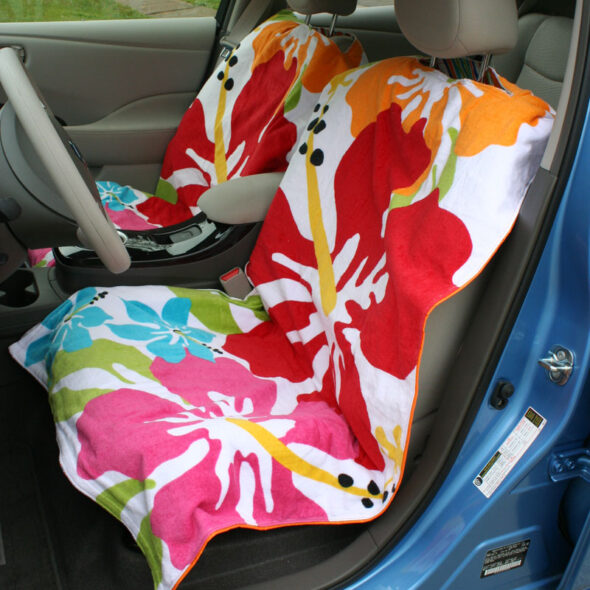
Credit: www.youtube.com
Creating A Pattern
Creating a pattern is a crucial step in making car seat covers. A well-designed pattern ensures a snug fit. It also brings a neat look to your car seats. Knowing how to craft a pattern saves you time and effort. Let’s dive into this essential process.
Understanding Your Car Seat Shape
Begin by studying your car seat’s shape. Each seat has unique curves. Measure the dimensions carefully. Use a flexible tape measure for accuracy. Note down every measurement. This data guides your pattern creation.
Gathering Materials
Materials are vital in pattern creation. Use sturdy paper like craft paper. It holds shape better than regular paper. You also need scissors and tape. A pencil for tracing lines is handy. These tools help you sketch a precise pattern.
Tracing The Seat Outline
Lay the paper on the car seat. Trace the seat outline with a pencil. Ensure the paper covers the seat completely. Mark sections where seams will be. This outline forms the base of your pattern.
Adding Seam Allowances
Seam allowances are crucial for sewing. Add extra space around your traced outline. About half an inch is standard. This allowance helps in fitting and sewing. Mark this space clearly on your pattern.
Finalizing The Pattern
Inspect your pattern for accuracy. Ensure all lines are clear. Adjust any errors in tracing. Cut out the pattern with scissors. Use tape to reinforce weak spots. Your pattern is now ready for fabric cutting.
Cutting The Fabric
Cutting the fabric is a crucial step in making car seat covers. Proper cutting ensures a snug fit and a professional look. Precise measurements and careful planning are key here. Let’s explore the process of cutting the fabric effectively for your car seat covers.
Step 1: Gather Your Tools
Before cutting, gather essential tools. You need sharp scissors or a rotary cutter. A measuring tape is vital for accuracy. Don’t forget the fabric chalk for marking.
Step 2: Measure The Car Seats
Measuring the car seats accurately is important. Measure the length, width, and depth of each seat. Remember to measure the backrest, cushion, and sides separately.
Step 3: Mark The Fabric
Lay the fabric on a flat surface. Use fabric chalk to mark the measurements. Double-check measurements to avoid mistakes. Mark extra fabric for seams and hems.
Step 4: Cut The Fabric
Begin cutting the fabric along the marked lines. Use sharp scissors for clean edges. A rotary cutter can speed up the process. Cut slowly to maintain accuracy.
Step 5: Check The Fit
Place the cut fabric pieces on the car seats. Ensure they cover all areas properly. Adjust any pieces that don’t fit well. This step helps avoid fitting issues later.
Sewing The Covers
Sewing the covers is a crucial step in making car seat covers. This process involves stitching the fabric pieces together to form a protective layer. It’s important to sew with precision to ensure a snug fit. Proper sewing enhances durability and appearance.
Stitching Techniques
Choose a straight stitch for basic seams. It is strong and easy to sew. Double-stitched seams add extra strength. Use a zigzag stitch for stretchy fabrics. It allows the fabric to move freely.
Backstitch at the start and end of seams. This prevents unraveling. Use a sewing machine for faster work. Ensure the thread color matches the fabric for a neat finish.
Attaching Straps Or Elastic
Straps or elastic keep the covers secure. Measure and cut straps to fit around the seats. Sew the straps at strategic points. This helps in adjusting the cover easily.
Elastic provides flexibility. It hugs the seat tightly, avoiding slipping. Sew elastic around the edges for a seamless fit. Ensure it stretches well but is not too loose.
Test the straps or elastic before completing the sewing. It ensures the cover fits snugly. A perfect fit enhances comfort and safety.
Fitting The Covers
Installing car seat covers can be a fulfilling task. It gives your vehicle a fresh look. Proper fitting is crucial for comfort and aesthetics. Let’s explore the steps to make sure your covers fit perfectly.
Understanding Your Car Seats
Know your car seat type. Some cars have bucket seats, others bench. This determines the cover style you need. Check for headrests and armrests. Each affects how the cover fits.
Preparing The Car Seats
Clean the seats before fitting covers. Remove any debris or dust. This ensures the covers sit smoothly. A clean surface helps prevent future wear and tear.
Aligning The Covers
Place the cover over the seat. Make sure it aligns with the seat edges. Adjust the cover for a snug fit. Check for wrinkles or misalignments. Smooth out any creases.
Securing The Covers
Use straps or hooks provided. Fasten them tightly under the seat. This holds the cover in place. Ensure no loose ends or gaps. A secure fit enhances safety and appearance.
Final Adjustments
Sit on the seats to test comfort. Adjust as needed for a perfect fit. Check for movement or shifting. Make any needed tweaks. Proper fitting ensures durability and comfort.
Customizing Your Design
Customizing your car seat covers allows you to express your style. You can choose colors, patterns, and textures. These choices make your car’s interior unique. Let’s explore ways to personalize your design.
Adding Pockets
Pockets add both style and function to seat covers. They help keep your car tidy. Store maps, sunglasses, or small tools in them. Sew pockets on the back of the front seats. Use durable fabric that matches or contrasts with the cover. Decide on the size based on your needs. Consider elastic edges for flexibility. Pockets make your design practical and unique.
Incorporating Embroidery
Embroidery offers a touch of elegance to seat covers. Choose a simple or intricate design. Consider using initials or a favorite symbol. Select thread colors that complement the fabric. Embroidery can be done by hand or machine. It adds a personal and artistic touch. Embroidered seat covers stand out and reflect personal taste.
Maintenance Tips
Car seat covers protect and enhance your vehicle’s interior. They need proper care to stay clean and last long. Learn essential maintenance tips to keep them looking new.
How To Clean Car Seat Covers
Regular cleaning removes dust and stains. Use mild detergent and warm water. Gently scrub with a soft cloth or sponge. Rinse thoroughly to remove soap residue.
For fabric covers, vacuum weekly. This prevents dirt buildup. For leather covers, wipe with a damp cloth. Avoid harsh chemicals that may damage the material.
Drying Techniques
Air drying is best for seat covers. It prevents shrinking and warping. Hang them outside in a shaded area. Direct sunlight can fade colors and weaken fibers.
For faster drying, use a fan. Avoid dryers or heaters. High heat can cause damage and reduce lifespan.
Storage Tips
Proper storage maintains shape and quality. Fold covers neatly when not in use. Store in a dry, cool place away from sunlight.
Use protective bags to keep dust away. This prevents discoloration and wear. Check covers regularly for any signs of damage.
Repair And Maintenance
Inspect seat covers frequently. Look for tears or loose threads. Repair small damages promptly to avoid worsening.
Use patch kits for minor repairs. Seek professional help for major damages. Regular maintenance ensures long-lasting protection and beauty.
Frequently Asked Questions
What Materials Are Best For Car Seat Covers?
Choose durable and comfortable materials like neoprene, leather, or polyester. Neoprene is water-resistant and easy to clean. Leather offers a luxurious feel and longevity. Polyester is affordable and versatile. Each material has unique benefits. Consider your budget and preferences when selecting the best material for your car seat covers.
How Do I Measure My Car Seats?
Start by measuring the height, width, and depth of your seats. Include armrests and headrests in measurements. Use a flexible measuring tape for accuracy. Record measurements carefully to ensure a perfect fit. Accurate measurements are crucial for creating custom seat covers.
Follow a detailed measuring guide for best results.
Can Beginners Make Car Seat Covers?
Yes, beginners can make car seat covers with the right guidance. Choose simple patterns and materials. Use online tutorials or sewing classes for assistance. Practice on small projects first. Patience and precision are key. With dedication, even novices can create stylish and functional seat covers.
How Do I Install Car Seat Covers?
Start by removing any detachable parts like headrests. Slide covers over seats, adjusting for a snug fit. Secure with straps or fasteners provided. Ensure all areas are covered and smooth. Check for wrinkles and adjust as needed. Follow specific instructions provided with your seat covers for best results.
Conclusion
Creating your own car seat covers can be a rewarding project. You save money and add a personal touch to your car. The process involves measuring, cutting, and sewing. With patience and the right materials, it becomes manageable. Practice makes perfect, so don’t worry about mistakes.
Enjoy the process and the satisfaction of doing it yourself. Your seats will thank you for the care and creativity. Remember, custom covers reflect your style. Have fun and get started today. Make your car’s interior truly yours with handmade seat covers.
Keep crafting, and happy driving!

Sophia Linda is a freelance writer and Certified Health Coach based in the Newbury Park, CA. Passionate about healthy living, she focuses on helping families stay active and connected to the outdoors. Together with her husband and their three young children, Sophia spends much of her time traveling, hiking, and camping. Her work has been featured on the bestbabycart blog, and she brings a practical, real-world perspective to reviewing baby products for parents.