
Stained, worn, or faded car seats don’t just hurt your vehicle’s resale value—ill-fitting aftermarket covers can also slip during driving, obstruct side airbags, or interfere with seatbelt function if installed incorrectly. This guide walks you through every step of the process, from selecting the right covers for your vehicle to final safety checks, so you get a secure, polished fit that lasts for years.
Why Proper Installation Matters
A poorly installed seat cover will shift, bunch, or create wrinkles within weeks of use, and in worst cases, can block critical safety features. Side airbags built into seat backs require unobstructed deployment paths, while covers that block seatbelt buckles or seat controls create unnecessary crash risks. Taking 30–60 minutes to install covers correctly the first time will save you from redoing the work and avoid potential safety hazards. You can also read our guide on how to install safety first car seat rear facing.
Example of unprotected seat upholstery prone to stains and wear from daily use.
Credit: www.cover-company.com
Pre-Installation: Choose the Right Covers for Your Vehicle
Skipping compatibility checks is the most common cause of failed installations. Before buying covers, confirm they match your seat dimensions and vehicle safety features.
Fit Type
Seat covers come in three main fit categories:
- Universal fit: Inexpensive, one-size-fits-most designs that work for basic protection but often shift or wrinkle. Best for temporary use or older vehicles with standard bench seats.
- Semi-custom fit: Cut to match the general dimensions of your vehicle’s make and model, with tailored cutouts for controls and airbags. The best balance of cost and fit for most drivers.
- Model-specific fit: Precisely cut to match your exact vehicle’s seat shape, with no extra fabric to tuck. The most secure option, ideal for families or vehicles with advanced safety features.
To get an accurate fit, measure the width of your seat at its widest point, the length from the top of the seat back to the front edge of the seat cushion, and the height of the headrest posts before purchasing. You can also read our guide on can you wash graco car seat covers.
Material Considerations
Your cover material should match your lifestyle:
- Neoprene: Water-resistant and easy to wipe down, ideal for outdoor enthusiasts, pet owners, or families with young children who deal with frequent spills.
- Polyester: Durable, breathable, and often machine-washable, a versatile all-around option for daily drivers.
- Faux leather: Simple to spot-clean and gives a premium look, but can get hot in direct sunlight.
- Canvas: Heavy-duty and tear-resistant, perfect for work trucks or vehicles used for hauling gear.
For a detailed breakdown of how different fabrics hold up to daily wear, fabric performance comparisons outline breathability, water resistance, and cleaning requirements for common materials. If you’re choosing covers for a family vehicle, child-safe cover options often feature reinforced stitching and spill-resistant finishes.
Style and Function
While bold patterns or custom colors add personal flair, prioritize function for front seats: ensure cutouts align with seatbelt buckles, airbags, and seat controls. For rear seats, choose a design that matches split-bench configurations if your vehicle has 60/40 or 50/50 folding seats. You can also read our guide on car seat covers mexican blanket.
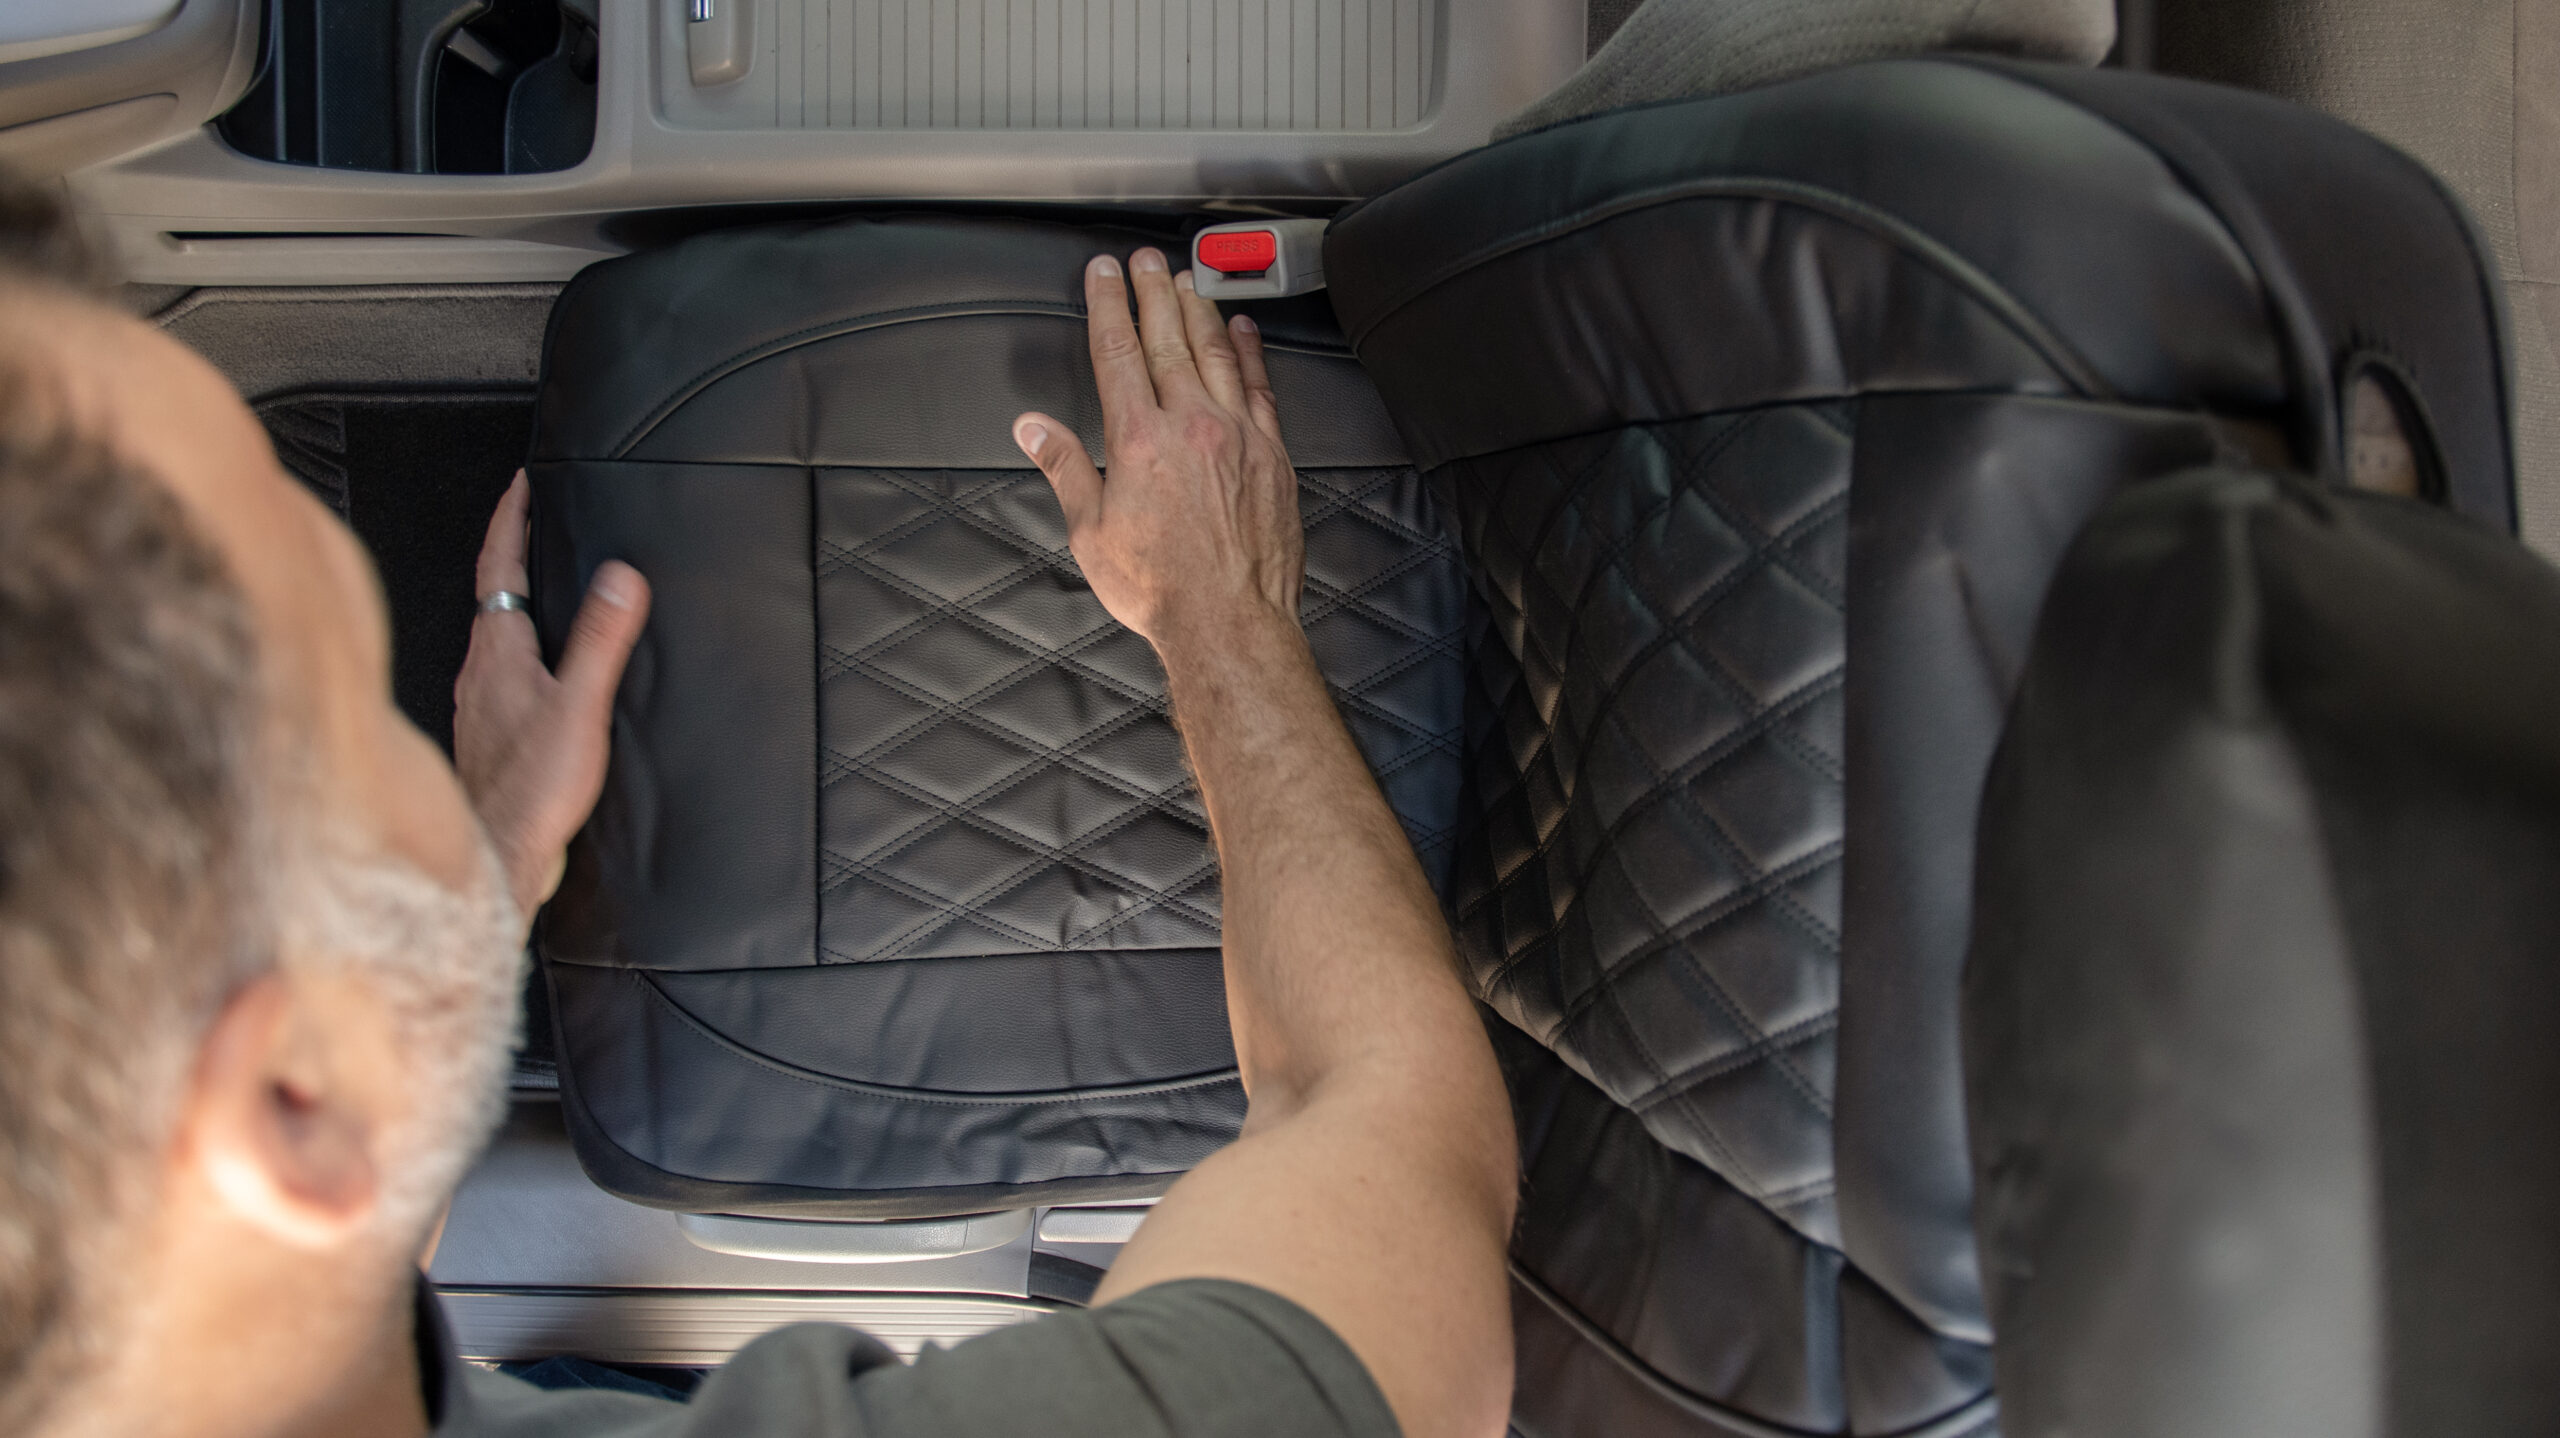 Properly installed seat covers enhance interior aesthetics while protecting upholstery.
Credit: www.autozone.com
Properly installed seat covers enhance interior aesthetics while protecting upholstery.
Credit: www.autozone.com
Tools and Supplies You’ll Need
Most standard seat cover installations require no specialized tools, and you will almost never need to fully remove your car’s seats to complete the work. Gather these supplies before starting:
- Vacuum with crevice tool
- Damp microfiber cloth
- Mild upholstery cleaner (if seats are soiled)
- Pliers or trim removal tool (for tucking fabric into tight seams)
- Flashlight (to inspect under-seat fasteners and dark crevices)
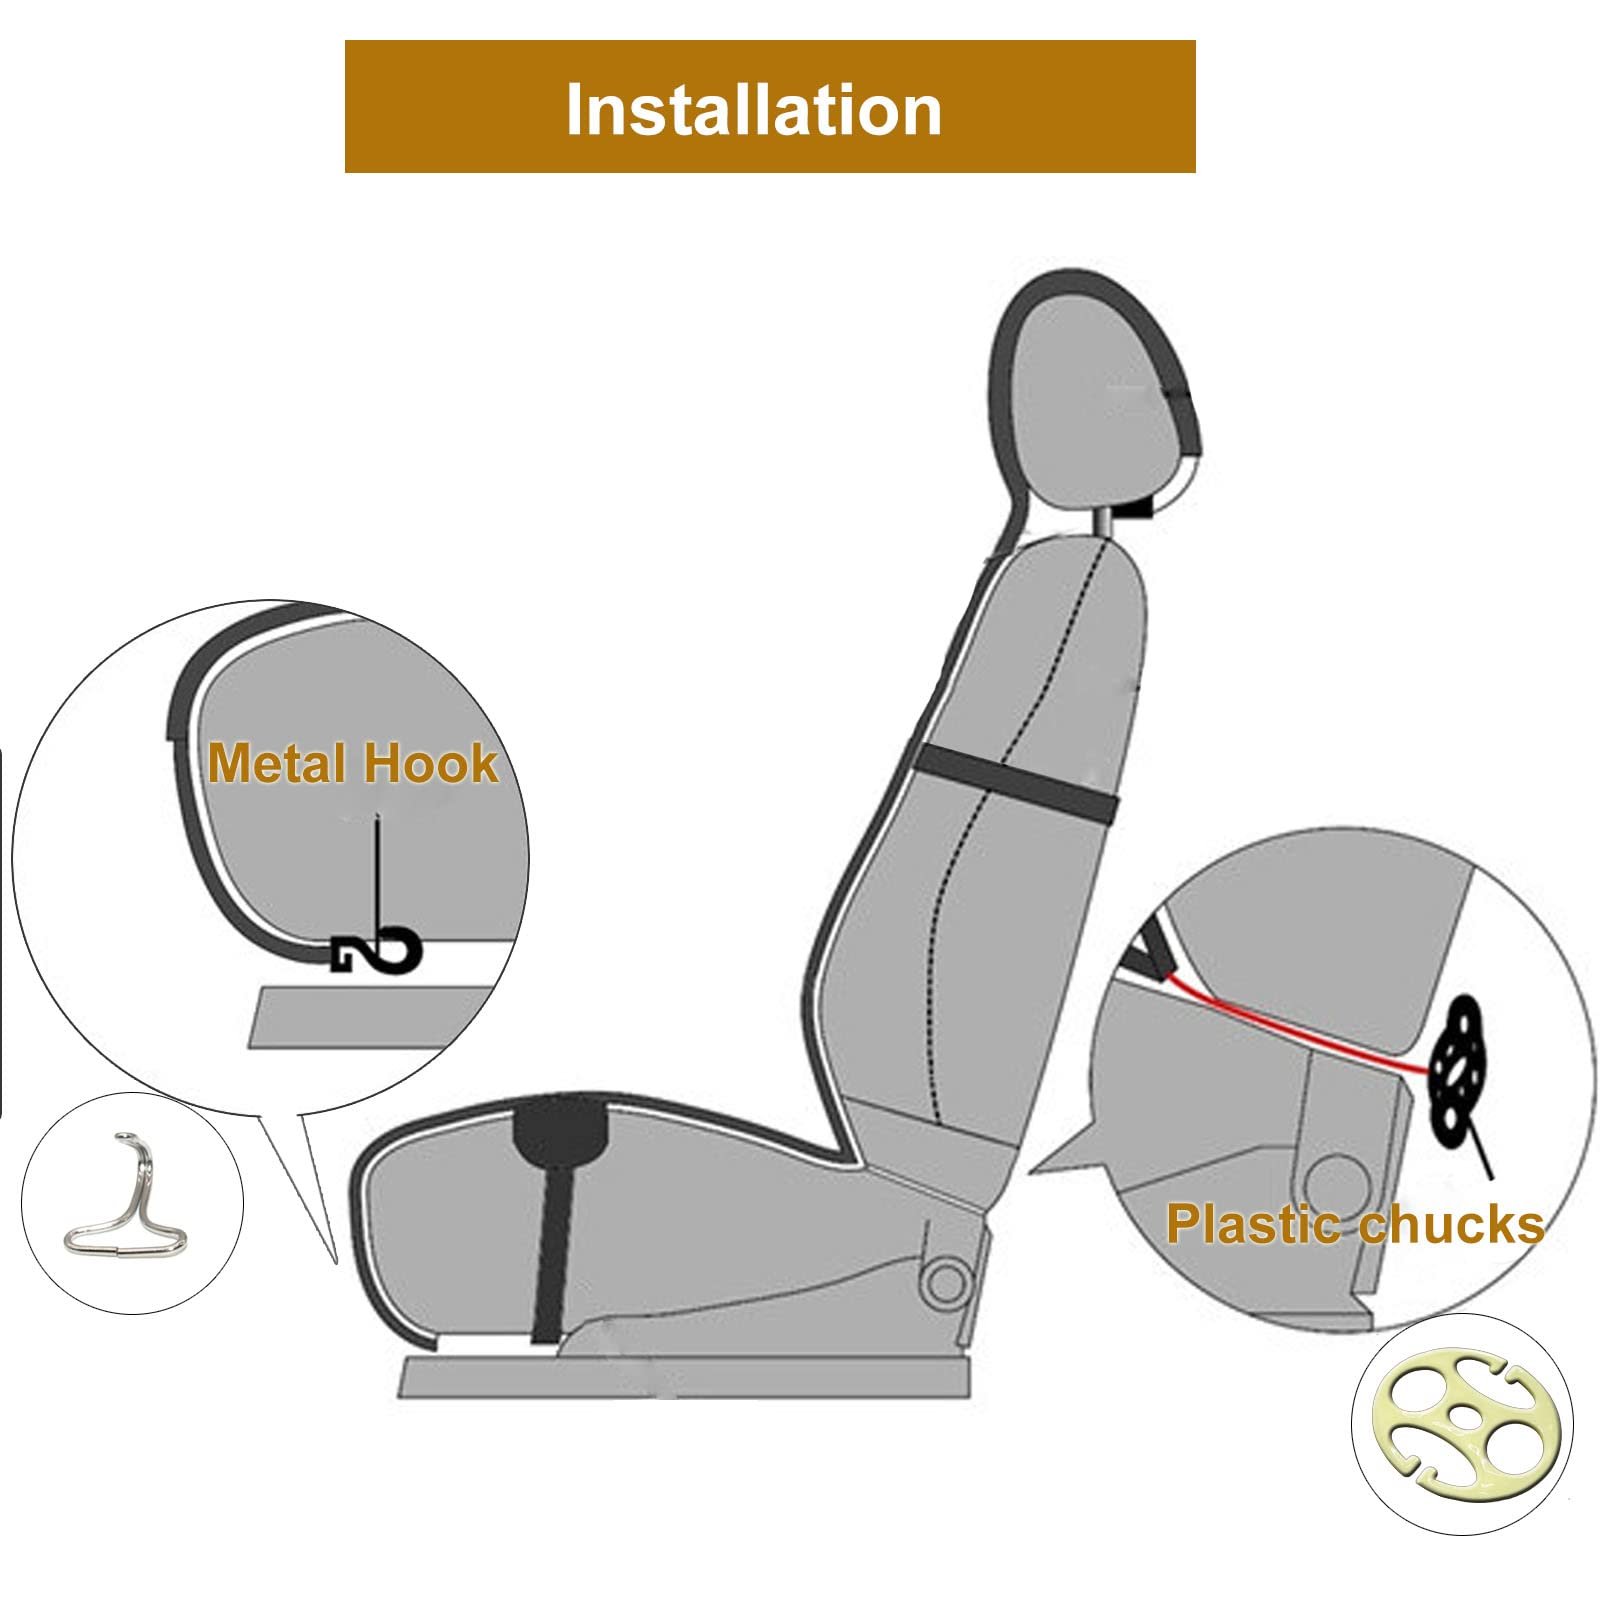
- The included fasteners that came with your seat covers (straps, hooks, ties)
If your covers use snap fasteners rather than elastic straps, snap-fastener installation tips can help avoid misalignment during fitting.
Step 1: Prepare Your Car Seats
Proper prep ensures a snug, wrinkle-free fit and prevents dirt from getting trapped under the new covers.
- Clear the area: Remove all loose items from seat pockets, under the seats, and the floorboard. If you are replacing existing covers, take photos of their placement to reference later.
- Remove headrests: Most headrests release with a button on the base of the post; pull straight up to avoid damaging the mechanism. Set them aside in a safe spot to reinstall later.
- Clean the seats thoroughly: Vacuum all seams, crevices, and under the seat cushions to remove dirt, crumbs, and pet hair. Follow a pre-installation cleaning guide to remove ground-in grime, then wipe all surfaces with a damp cloth and let them dry completely.
- Inspect for damage: Check for tears, broken stitching, or worn padding on the original upholstery. Repair small issues with a fabric patch before installing covers to avoid lumpy, uneven fits.
Step 2: Install Front Seat Covers
Front seats have more built-in features, so take extra care to align cutouts correctly.
- Align the cover: Slide the cover over the top of the seat back first, making sure any tags or labels are positioned at the rear of the seat to avoid installing it backward. Align the cutout for the headrest posts with the posts themselves.
- Secure the cover: Pull the cover down over the seat cushion, then tuck any excess fabric into the gap between the seat and the car’s floorboard. Fasten the included elastic straps or hooks under the seat to prevent slippage.
- Smooth out wrinkles: Work from the top of the seat down, pulling the fabric tight to eliminate creases. For covers with armrest cutouts, tuck the fabric neatly around the armrest base to avoid bunching.
- Check for obstructions: Confirm the seatbelt buckle, recliner lever, and any seat controls are fully accessible through the cover’s cutouts.
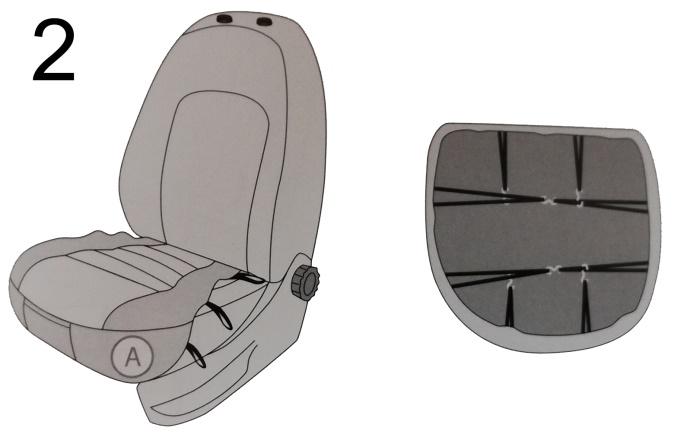 Tightening under-seat straps prevents cover slippage during daily use.
Credit: www.cover-company.com
Tightening under-seat straps prevents cover slippage during daily use.
Credit: www.cover-company.com
Step 3: Install Rear Seat Covers
Rear seats often have split-bench designs, so install each section separately for the best fit.
- Align the cover: Start with the top of the seat back, aligning the cover’s seams with the seat’s existing seams. For split benches, make sure the cover’s split line matches the seat’s folding line to avoid bunching when the seat is folded down.
- Tuck and secure: Pull the cover down over the seat cushion, tucking excess fabric into the gap between the seat and the floorboard. Fasten all included straps or hooks under the seat, tightening them to eliminate slack.
- Adjust for headrests: If your rear seats have adjustable headrests, cut small slits in the cover’s headrest cutouts to fit the posts, then tuck the edges of the slit under the headrest base for a clean finish.
Step 4: Accommodate Special Vehicle Features
Modern vehicles have added features that require extra attention during installation:
- Side airbags: Never cover the marked airbag deployment zones on the outer edge of the seat back. Only use covers labeled "SAE J239 compliant" or "airbag-safe," which have pre-cut panels that allow airbags to inflate without obstruction. For official guidance on airbag-safe interior modifications, refer to the National Highway Traffic Safety Administration’s official airbag safety guidelines.
- Heated seats: Confirm your covers are rated for use with heated seats to avoid damaging the heating element wiring. For detailed compatibility rules, heated seat compatibility rules outline which materials are safe for use with heated upholstery.
- Integrated seatbelts and lumbar support: Ensure cutouts for seatbelt buckles and lumbar support controls are fully aligned; misaligned cutouts can make these features difficult or impossible to use.
- Armrests: If your cover does not have a pre-cut armrest slot, use scissors to carefully cut a small opening aligned with the armrest, then tuck the raw edge under the armrest base to prevent fraying.
For leather upholstery, leather-specific cover recommendations often include non-slip backing to prevent sliding and material damage. You can also read our guide on car seat covers material best discover breathable mesh waterproof options.
Step 5: Final Adjustments and Safety Checks
Before considering the installation complete, run through these checks to ensure safety and a long-lasting fit:
- Shake test: Grip the top of each cover and give it a firm shake to confirm it does not slip.
- Control test: Adjust the seat’s recline, slide, and height controls to ensure they move freely without catching on the cover.
- Seatbelt test: Buckle and unbuckle the seatbelt to confirm the buckle moves easily through the cover’s cutout, and that the belt lies flat without twisting.
- Airbag check: Turn the vehicle on and confirm the airbag warning light does not stay illuminated, which would indicate the cover is blocking the airbag sensor.
- Reinstall headrests: Slide the headrest posts back into their slots, making sure the cover’s headrest cutout is not stretched or misaligned.
Maintenance Tips to Extend Cover Lifespan
Regular care will keep your covers looking new for years:
- Vacuum weekly: Remove loose dirt, crumbs, and pet hair to prevent abrasion that wears down fabric fibers over time.
- Spot clean spills immediately: Blot liquid spills with a clean, dry cloth—never rub, as this pushes stains deeper into the fabric. Use a mild cleaner formulated for your cover’s material, and test it on a hidden seam first.
- Wash per manufacturer instructions: Most fabric covers are machine-washable on a gentle cycle with mild detergent; air dry completely to avoid shrinkage. Neoprene covers can be hosed off for quick deep cleaning.
- Avoid prolonged sun exposure: Park in shaded areas or use a sunshade to prevent fading and material degradation from UV rays.
- Inspect fasteners quarterly: Check that straps, hooks, and snaps are still tight, and re-secure any that have loosened from regular use.
Frequently Asked Questions
How long does it take to install car seat covers?
For a first-time installer, expect to spend 30–60 minutes on a full set of front and rear covers. Experienced DIYers can complete the job in 15–20 minutes.
Will seat covers void my car’s warranty?
No, seat covers are considered a cosmetic, user-installed accessory and do not void most manufacturer warranties, per the Magnuson-Moss Warranty Act. That said, if damage to your seats or interior components is traced directly to improper cover installation, the manufacturer may deny related warranty claims.
How do I know if my covers are airbag-compatible?
Look for labels marked "SAE J239 compliant," "airbag-safe," or "side airbag compatible." These covers have pre-cut, reinforced panels that allow side airbags to deploy without obstruction. Non-compliant covers can block airbag deployment and increase injury risk in a crash.
Can I use seat covers on heated seats?
Yes, as long as the covers are specifically rated for use with heated upholstery. Non-rated covers can insulate heat, causing the heating element to overheat and fail. For full compatibility details, heated seat compatibility rules outline which materials are safe for use with heated seats.
How often should I replace my seat covers?
With proper care, high-quality covers last 3–5 years for daily drivers. Replace them if you notice frayed stitching, stretched fabric that no longer fits snugly, or fasteners that no longer hold the cover in place.
Final Thoughts
Installing car seat covers is a low-cost, high-impact DIY project that protects your vehicle’s interior and adds personal style with minimal effort. The key to a long-lasting fit is taking time to prep your seats, choose covers matched to your vehicle’s features, and run through all safety checks before driving. If you run into fit issues, consult your vehicle’s owner’s manual or contact the cover manufacturer for model-specific guidance. Safe travels with your newly updated interior.

Emma Grace is a devoted mother and passionate content writer at BestBabyCart.com. With firsthand parenting experience and a love for research, she creates helpful guides and honest reviews to support parents in choosing the best for their babies. Her goal is to make parenthood easier, one article at a time.