
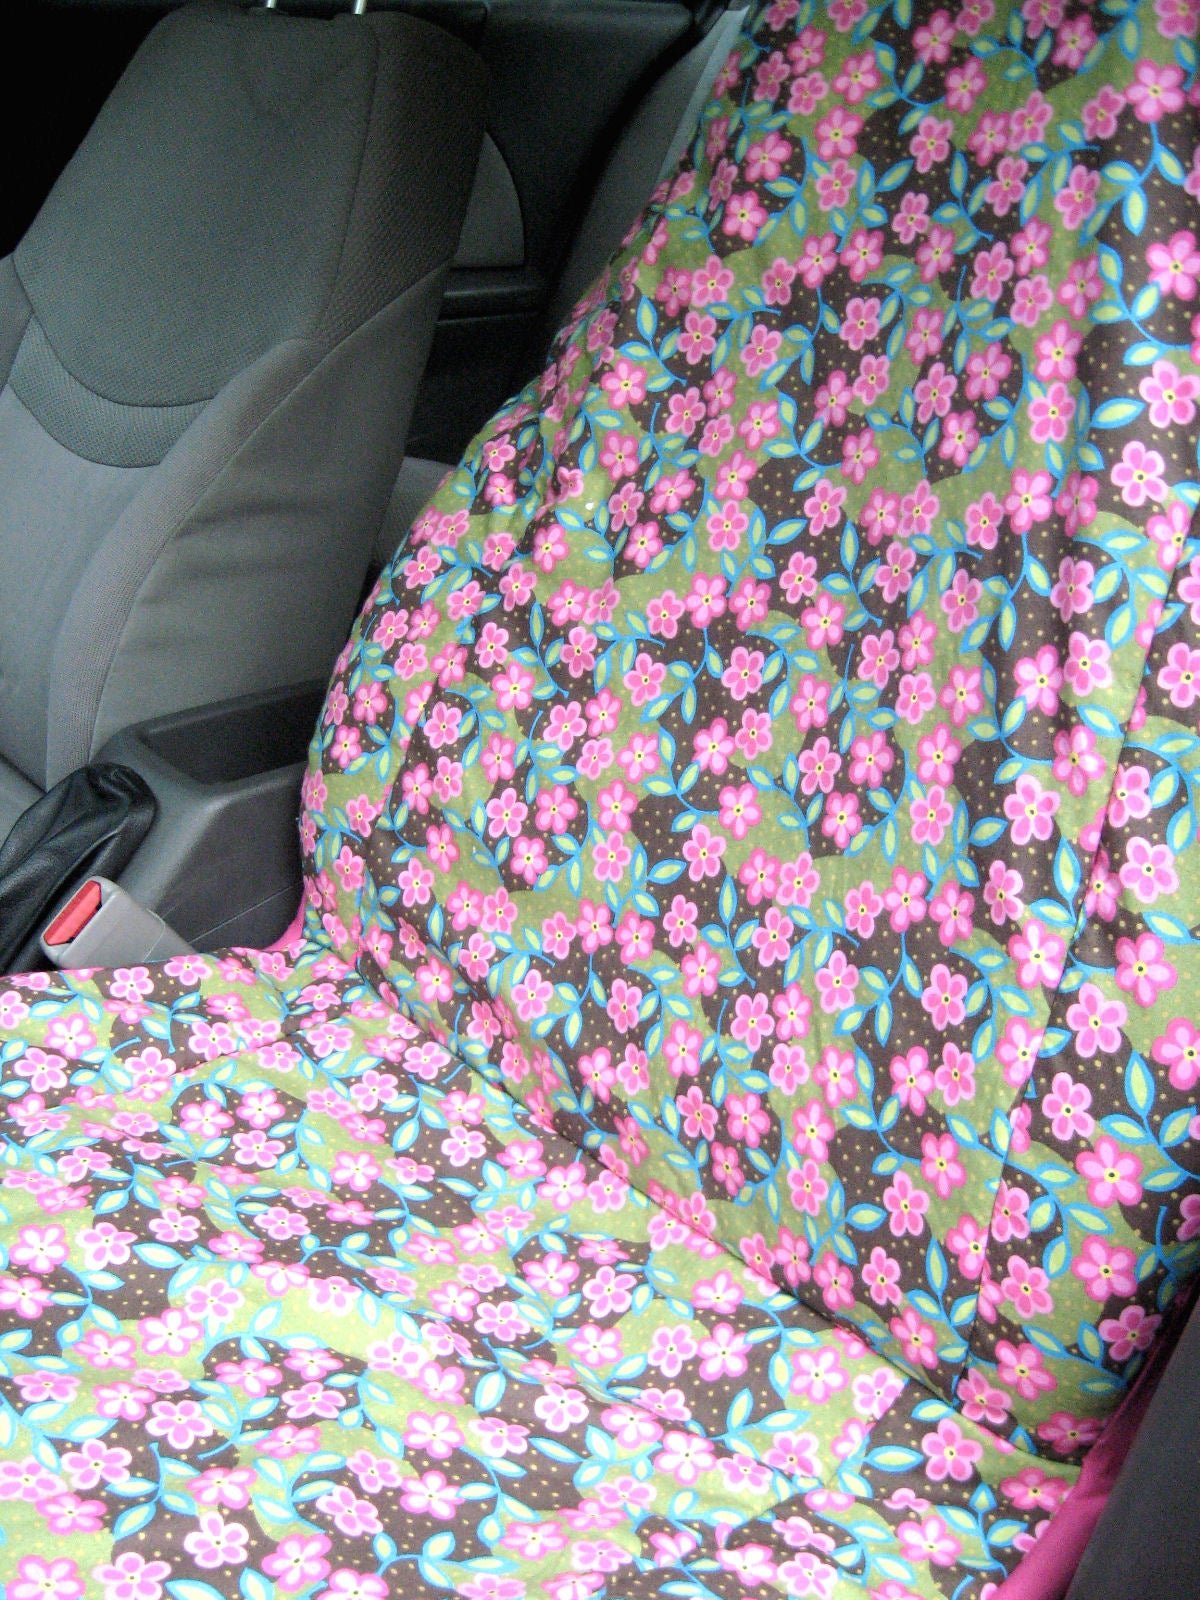
Stepping into a car with faded, stained, or slipping universal seat covers is a common frustration – professional custom upholstery for a standard 4-door sedan runs $300 to $800 per row, a cost that’s out of reach for many car owners. After completing over a dozen custom seat cover projects for sedans, SUVs, and a vintage 1990s pickup, I’ve found that sewing your own covers delivers a factory-quality fit, full style customization, and protection for your original upholstery for a fraction of the cost. This guide walks you through every step, from measuring your seats to installing your finished covers, with practical tips to avoid common beginner mistakes.
Why Sew Your Own Car Seat Covers?
Custom DIY seat covers offer benefits that off-the-rack options can’t match:
- Cost savings: A full set of DIY seat covers costs $50 to $150 in materials, even with mid-tier fabric, compared to hundreds for professional upholstery.
- Perfect fit: Universal slip-on covers almost always have gaps around seams and controls; a custom pattern matches your seat’s exact contours for a snug, non-slip fit.
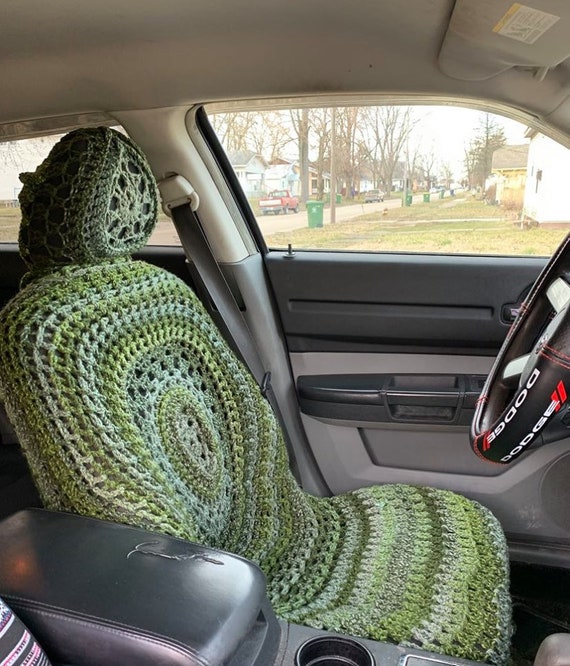
- Full customization: Choose any fabric, pattern, or padding level to match your style, climate, and use case.
- Upholstery protection: Keep your car’s original seats safe from spills, pet hair, sun fading, and everyday wear, which is especially valuable for leased vehicles or classic cars.
What You’ll Need: Materials & Tools
The right supplies make the difference between a cover that lasts 5 years and one that falls apart after 6 months.
Fabric Selection
Choose fabric based on your climate, use case, and sewing skill level:
| Fabric Type | Best For | Pros | Cons | Beginner-Friendly? |
|---|---|---|---|---|
| 1000D Polyester Canvas | Trucks, families with pets/kids, heavy daily use | Abrasion-resistant, water-repellent, UV-stable | Stiff at first, requires heavy-duty needles | Moderate |
| Cotton Duck (8-10 oz) | Warm climates, everyday sedans, breathable comfort | Soft, breathable, easy to sew, affordable | Less water-resistant than canvas | Yes |
| Faux Leather | Luxury vehicles, low-maintenance cleaning | Sleek factory-like finish, wipeable, stain-resistant | Can crack in extreme cold/heat, requires leather needles | Moderate |
| Real Leather | High-end custom projects | Extremely durable, premium look | Expensive, requires special needles and tension, hard to sew for beginners | No |
For warm climates, breathable cotton duck is a top pick, as it’s soft enough for long drives and wicks moisture away – the same soft, skin-friendly fabric properties we recommend for soft breathable fabric for comfort. For families with kids and pets, 1000D polyester canvas is the most durable option, holding up to spills, scratches, and daily wear just as well as the durable materials for high-wear use we recommend for baby items that see constant use. You can also read our guide on can you put seat covers on heated car seats.
Essential Sewing Tools
You don’t need a high-end sewing machine, but it must be able to handle 4–6 layers of thick fabric:
- Sewing machine with a straight stitch function (a walking foot attachment is highly recommended for thick fabric to prevent bunching)
- Needles: Size 90/14 or 100/16 universal for canvas/cotton, size 16 leather needles for faux/real leather
- 100% polyester 30–40 weight thread (UV-resistant thread prevents seams from rotting in direct sun)
- Sharp fabric scissors (never use for other materials to keep edges sharp)
- Seam ripper for correcting mistakes
- Flexible measuring tape, fabric marker, straight pins or wonder clips (clips hold thick fabric better than pins)
Optional Accessories
- 1/2 inch high-density foam for extra seat cushioning (cut 1/2 inch smaller than your fabric pieces to avoid interfering with seat sensors)
- Elastic bungee cords or seat cover straps with plastic clips to secure the cover to the seat frame
- Waterproof fabric spray for extra spill protection on fabric covers
- Airbag-compatible seam tape for safety if your seats have side airbags
 Custom-tailored seat covers fit snugly over seat contours without slipping
Prepare Your Car Seats for New Covers
Proper prep ensures your covers fit correctly and last for years.
Step 1: Deep Clean the Seats
Start with a completely clean base to avoid trapping dirt under the new covers:
- Vacuum all seams, crevices, seatbelt buckles, and headrest posts with an upholstery brush attachment to remove loose debris.
- For fabric seats: Mix warm water with a few drops of mild dish soap, scrub with a soft-bristle brush, wipe with a damp cloth, and air dry in a shaded area for 24 hours (direct sun can cause mildew).
- For leather/faux leather: Use a dedicated leather cleaner, follow product instructions, and condition faux leather every 6 months to prevent cracking.
Step 2: Take Precise Measurements
Accurate measurements are the foundation of a good fit. Measure every seat individually, as even seats of the same model can have slight variations:
- Seat base: width (widest left-to-right point), depth (front edge to where it meets the backrest), and thickness.
- Backrest: width, height (top of headrest opening to bottom of the backrest), and depth (how far it sticks out from the seat base).
- Headrest posts: diameter, distance between posts, and height from the seat base to the top of the post.
- Seatbelt cutouts: width, height, and distance from the seat edge. Take photos of each seat from multiple angles to reference when making templates.
Step 3: Remove Existing Covers
If your car has factory seat covers, remove them carefully:
- Take photos as you unclip or unscrew the covers to reference for reinstallation later.
- Keep any intact clips, straps, or hardware to reuse for your DIY covers.
- Use the old cover as a template for your new pattern if it’s not too worn, noting any weak spots to reinforce in your new design.
Create Custom Patterns for a Perfect Fit
Skipping the template step is the fastest way to end up with a cover that gaps or slips.
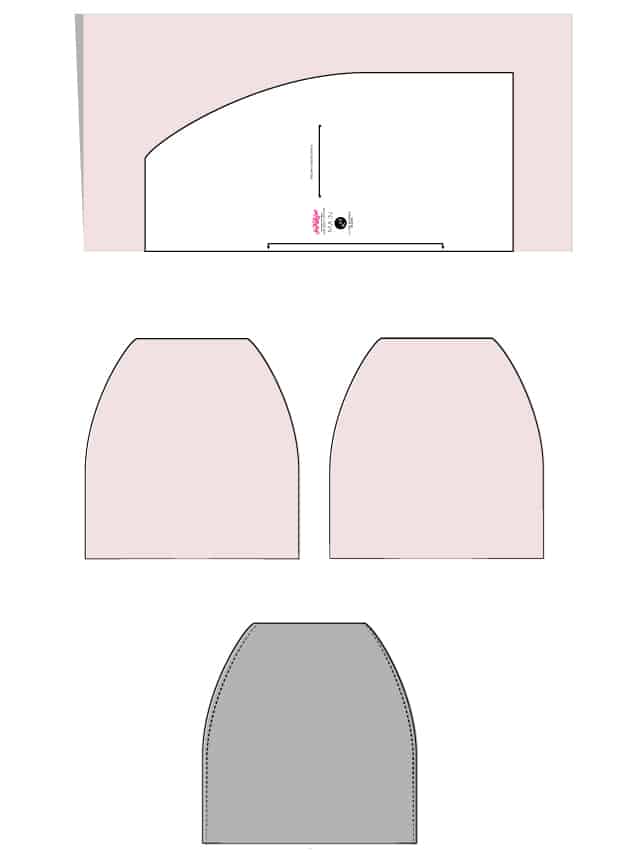
Make a Paper Template
Use sturdy corrugated cardboard or craft paper for a durable template:
- Lay the paper over the seat base, press it into the seat’s contours, and trace the outline with a fabric marker.
- Mark all cutouts: headrest posts, seatbelt openings, and side airbag zones (look for a small "SRS" or airbag label on the side of the seat).
- Cut out the template with scissors or a utility knife.
Add Seam Allowances and Adjustments
- Add a 1/2 inch seam allowance all the way around the template, plus an extra 1 inch of fabric for strap or elastic attachments.
- If your seat has side airbags, leave a 2-inch gap around the deployment zone to avoid interfering with airbag inflation.
- Test the template on the seat to confirm all cutouts align and the shape matches the seat’s curves. A common mistake here is using a straight edge for the area where the seat base meets the backrest – the template should have a curved edge that matches the seat’s natural angle to avoid bunching.
Test the Fit
Lay the paper template on the seat, sit on it, and shift your weight to make sure it stays in place. Adjust the template as needed before cutting your fabric – a 10-minute test can save you from ruining expensive fabric later.
 A sturdy cardboard template ensures your fabric pieces match your seat’s exact shape
Cut and Assemble Your Seat Cover Panels
Precision at this stage ensures a professional finished product.
Cut Fabric Pieces Accurately
- Lay your template on the fabric, pin it in place, and cut with sharp fabric scissors or a rotary cutter (a rotary cutter gives straighter edges for thick fabric).
- Cut two of each panel (front and back) so you have a finished edge on both sides of the cover.
- When buying fabric, overestimate your yardage by 10% to account for cutting mistakes and pattern matching – just like we recommend calculating how much material you need when stocking up for a new baby.
Sew Panels Together
- Start by sewing the front and back pieces of each section (seat base, backrest, headrest) together with right sides facing, using a 1/2 inch seam allowance.
- Leave one edge of each panel open if you want to add a zipper for easy removal, or leave the bottom edge open to slide the cover over the seat.
- Reinforce high-stress areas (corners, seatbelt cutouts) with a second row of stitching to prevent tearing.
Add Padding for Extra Comfort
If you want extra cushioning, cut 1/2 inch high-density foam to match the shape of your seat base. Attach it to the wrong side of the seat base front panel with spray adhesive, or sew it between the front and back fabric layers for a more permanent hold. Never use foam thicker than 1/2 inch, as it can interfere with seat weight sensors and airbag deployment. You can also read our guide on how to keep newborn head up in car seat.
 A walking foot attachment helps sew thick fabric evenly without bunching
Install Your Custom Seat Covers Safely
Improper installation can interfere with your car’s safety features, so follow these steps carefully.
Pre-Installation Safety Check
Before fitting the covers, confirm they won’t block any critical features:
- Ensure all airbag deployment zones are clear, with no fabric stretched across the SRS label.
- Make sure the cover doesn’t cover seatbelt buckles, height adjustment levers, recline controls, or lumbar support buttons.
- For official, up-to-date safety guidance on aftermarket auto accessories that don’t interfere with airbag or seat sensor systems, refer to the National Highway Traffic Safety Administration’s recommendations official NHTSA safety guidance for aftermarket auto accessories.
Fit the Cover to Your Seat
- Start with the seat base: pull the cover over the cushion, aligning the headrest and seatbelt cutouts.
- Pull the backrest panel over the back of the seat, aligning the cutouts with the headrest posts and seatbelts.
- Smooth out wrinkles as you go to avoid bunching.
Secure and Adjust for a Snug Fit
- Tuck the excess fabric under the seat base, and use the elastic bungee cords or plastic clips to attach the cover to the seat frame. Use the secure strap attachment for stability method to ensure the cover won’t slip during driving.
- Sit on the seat and shift your weight around to test for slipping or tightness. Adjust the straps as needed – the cover should be snug but not stretched, as stretched fabric puts stress on seams and causes premature tearing.
- Test all seat controls to confirm they work normally with the cover installed.
Care and Maintenance for Long-Lasting Seat Covers
Proper care will extend the life of your covers by 3–5 years:
Routine Cleaning Tips
- Vacuum the covers weekly with a brush attachment to remove dirt and debris that can wear down fabric fibers.
- For fabric covers: Spot clean with a mild soap and water solution, and avoid harsh chemicals like bleach or ammonia, which can fade fabric and break down thread.
- For faux leather/leather covers: Wipe down with a damp cloth every month, and use a dedicated leather conditioner every 3–6 months to prevent cracking.
Spot Treat Stains Quickly
- Blot (never rub) food and drink stains with a clean cloth, apply a small amount of fabric cleaner, let sit for 5 minutes, then blot again with a damp cloth.
- For oil or grease stains (from lotion or car grease), sprinkle baking soda on the stain, let sit for 15 minutes, vacuum off, then spot clean.
Repair Minor Damage Before It Worsens
Small tears or loose seams can be fixed quickly with a sewing kit: use matching thread and double-stitch the area for extra strength. For larger tears, reinforce the inside of the cover with a patch of matching fabric before sewing it closed. If a seam is completely torn or the fabric is heavily stained, remove the cover and machine wash it on a cold, gentle cycle (air dry only – never use a dryer, as it can shrink fabric or melt synthetic materials). You can also read our guide on how to sew car seat covers.
Frequently Asked Questions
Do I need advanced sewing skills to make car seat covers?
No – basic straight-stitch skills are all you need. If you can sew a straight line on a simple T-shirt, you can make custom seat covers. Reinforced seams, wonder clips (which hold thick fabric in place without slipping), and pre-made patterns reduce the learning curve significantly. Start with a single front seat as a practice project before tackling a full set to build confidence. You can also read our guide on can you dry car seat covers.
Will DIY seat covers interfere with my car’s airbags?
Only if you cover the airbag deployment zones. When making your template, mark all side airbag locations (usually indicated by a small "SRS" or airbag label on the side of the seat) and leave a 2-inch gap around these areas to allow full airbag inflation. For extra safety, you can use airbag-compatible seam tape, which is designed to tear cleanly if the airbag deploys. Always test that your seats recline and adjust normally after installation. You can also read our guide on can you wash graco car seat covers.
How long does it take to sew a full set of seat covers?
For a beginner, expect 6–10 hours of work for a standard 4-door sedan set (two front seats, one rear bench). Experienced sewers can cut that time in half. Breaking the project into small steps (measuring one day, cutting the next, sewing over a weekend) makes it manageable even if you only have a few hours a week to work on it. You can also read our guide on best car seat covers for hot weather stay cool and comfortable.
Can I wash my custom seat covers?
Yes, most fabric covers are machine washable on a cold, gentle cycle. Remove any foam padding before washing, and air dry completely to prevent shrinkage or damage to elastic straps. Faux leather and leather covers should be wiped down with a damp cloth and mild cleaner; never machine wash these materials, as it can cause cracking or delamination. You can also read our guide on best booster car seat for sleeping top picks for comfortable travel.
What’s the most common mistake beginners make when sewing seat covers?
Cutting fabric before testing your paper template. Always lay your template on the seat first to confirm all cutouts align and the shape matches the seat’s contours – a 10-minute test can save you from ruining $50 or more of fabric if your template is even slightly off. Another common error is forgetting to add extra fabric for seam allowances and strap attachments, which leads to gaps and ill-fitting covers. You can also read our guide on best car seat covers for heated seats comfort meets functionality.
Conclusion
Sewing your own car seat covers is a rewarding, cost-effective way to protect your car’s original upholstery and add a personal touch to your interior. By taking precise measurements, choosing the right fabric for your climate and use case, and following safety guidelines for airbag and sensor compatibility, you can create a set of covers that fit as well as professional upholstery for a fraction of the cost. Even if you’re new to sewing, breaking the project into small, manageable steps makes it accessible for all skill levels. Grab your fabric and sewing kit this weekend, and enjoy the satisfaction of a custom interior that’s all your own. You can also read our guide on best infant car seat covers for winter.

Emma Grace is a devoted mother and passionate content writer at BestBabyCart.com. With firsthand parenting experience and a love for research, she creates helpful guides and honest reviews to support parents in choosing the best for their babies. Her goal is to make parenthood easier, one article at a time.