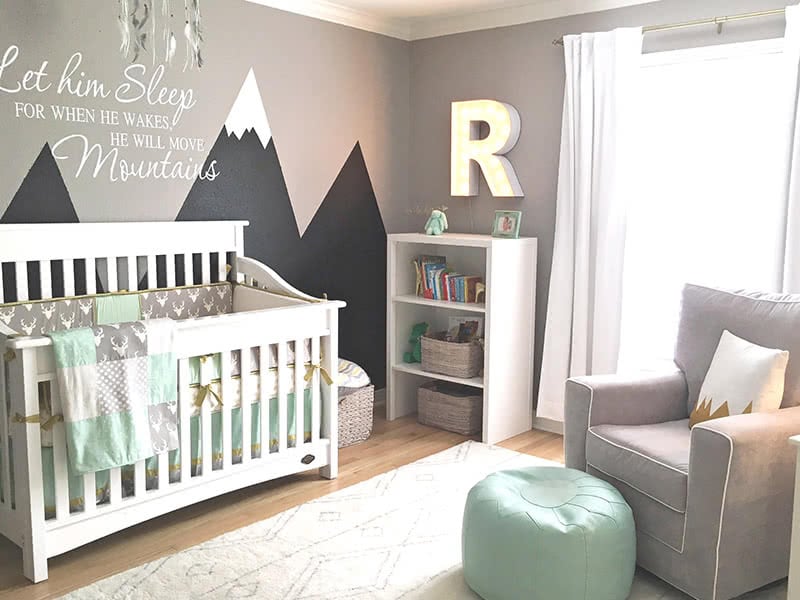
Many parents buy a good baby monitor but place it wrong. A monitor sits in a room. It should protect the baby. But poor placement makes blind spots, signal loss, and safety risks. The right spot keeps your child safe and your mind calm. This guide shows where to put a baby monitor and why it matters. You will learn quick rules and clear steps to set up any monitor. Semantic topics include nursery safety, baby sleep, monitoring accuracy, and infant care.

Why baby monitor placement matters
A monitor is only as good as where you put it. Place it wrong and you lose sight or sound of the baby. You also raise the risk of falls, cords, and entanglement. Cameras in the wrong spot can cast glare, miss the crib, or give false alarms. This guide explains what to watch for and how to position every type of monitor. It will help you fix blind spots and keep your baby safe.

What a Baby Monitor Needs to See and Hear
A monitor must catch clear, useful signals. It needs to show breathing, movement, sleep position, and crying. The angle, distance, and height decide how well it performs. If these are wrong, you may miss critical cues. Below are the main things parents want to monitor.
Breathing sounds
Many parents want to hear soft breaths. Audio clarity matters in a sleep room. Muffled sound can hide shallow breathing or pauses. A good placement reduces background noise and improves breathing detection.
Baby movement
Movement shows sleep cycles and comfort. You should see rolling and limb motion. If the view is blocked, you might miss a roll to prone. Angle and height help capture full movement inside the crib.

Sleep position
Knowing whether your baby sleeps on the back is key. Sleep position affects SIDS risk. A camera should show the whole crib to confirm the baby stays on the back. Positioning that hides part of the crib gives false security.

Crying
Crying lets you respond fast. Sound monitors catch cries even when you’re in another room. Too much distance or echo can mask quiet whimpers. Place audio sensors to avoid furniture vibration and static.
Why angle, distance, and height matter for accuracy
Angle decides what the camera sees. Distance affects focus and audio clarity. Height reduces reach and blind spots. Each factor affects monitoring accuracy. Small changes in angle or tilt can hide half the crib. Choose placement that balances view and safety.

Types of Baby Monitors and How Placement Affects Them
Monitors come in several types. Each reacts to distance, walls, and furniture differently. Placement rules change with the technology. Below are common types and how to place them.
Audio baby monitors
Audio-only units pick up sound. They work through a speaker and a small microphone. Keep them near but not within arm’s reach. Too close creates loud noise and risk of entanglement with cords. Walls and furniture can muffle audio or add echoes. Place the mic 3–8 feet from the crib for clear sound. Brands like VTech Safe & Sound and Philips Avent make popular audio models.
Video baby monitors
Video units show live video. They need line of sight to the crib. Avoid placing video cameras behind furniture or near windows. A downward angle from a high position covers most of the crib. Coverage is better when the camera is stable and out of reach. Infant Optics and Motorola video monitors follow these rules.
Wi‑Fi baby monitors
Wi‑Fi cameras stream over the internet. They depend on router placement. Signal loss can cause lag or dropouts. Wi‑Fi models like Nanit, Miku, and Google Nest Cam need a steady home network. Keep them out of reach and avoid placing them next to routers, smart TVs, or microwaves. Also take extra steps to reduce hacking risk.
Non‑Wi‑Fi video monitors
Non‑Wi‑Fi monitors use a dedicated parent unit. They avoid internet exposure and hacking risk. They can still face issues with walls and distance. These models often keep a stable link in houses with weak Wi‑Fi. Place them with the camera high and the parent unit in a central location.
The Safest Distance From the Crib
Distance keeps baby safe from cords and falling devices. Never place a monitor within arm’s reach of the crib. The closest safe distance depends on the product and room layout. The American Academy of Pediatrics (AAP) and the Consumer Product Safety Commission (CPSC) give clear warnings. They say no cords or devices should be close enough to touch from the crib. Keep the camera and power cable at least 3 feet away. This reduces strangulation and entanglement risk.
Strangulation and entanglement risks
Loose cords are a major hazard. Babies roll and reach for things. A dangling wire can wrap around a neck. That risk is real even with small cords. Secure cables and keep devices out of reach to prevent tragedy.
Camera fall hazards
Cameras can fall if not mounted well. A falling camera can injure the baby or tangle the cord. Use a wall mount or sturdy shelf and secure screws. Don’t balance a monitor on a shaky edge above the crib.
Official safety recommendations
Follow AAP and CPSC guidance. They advise no strings, cords, or ropes near cribs. They also recommend keeping electronics away from the sleeping space. Read product manuals and use the mounts that come with the camera.
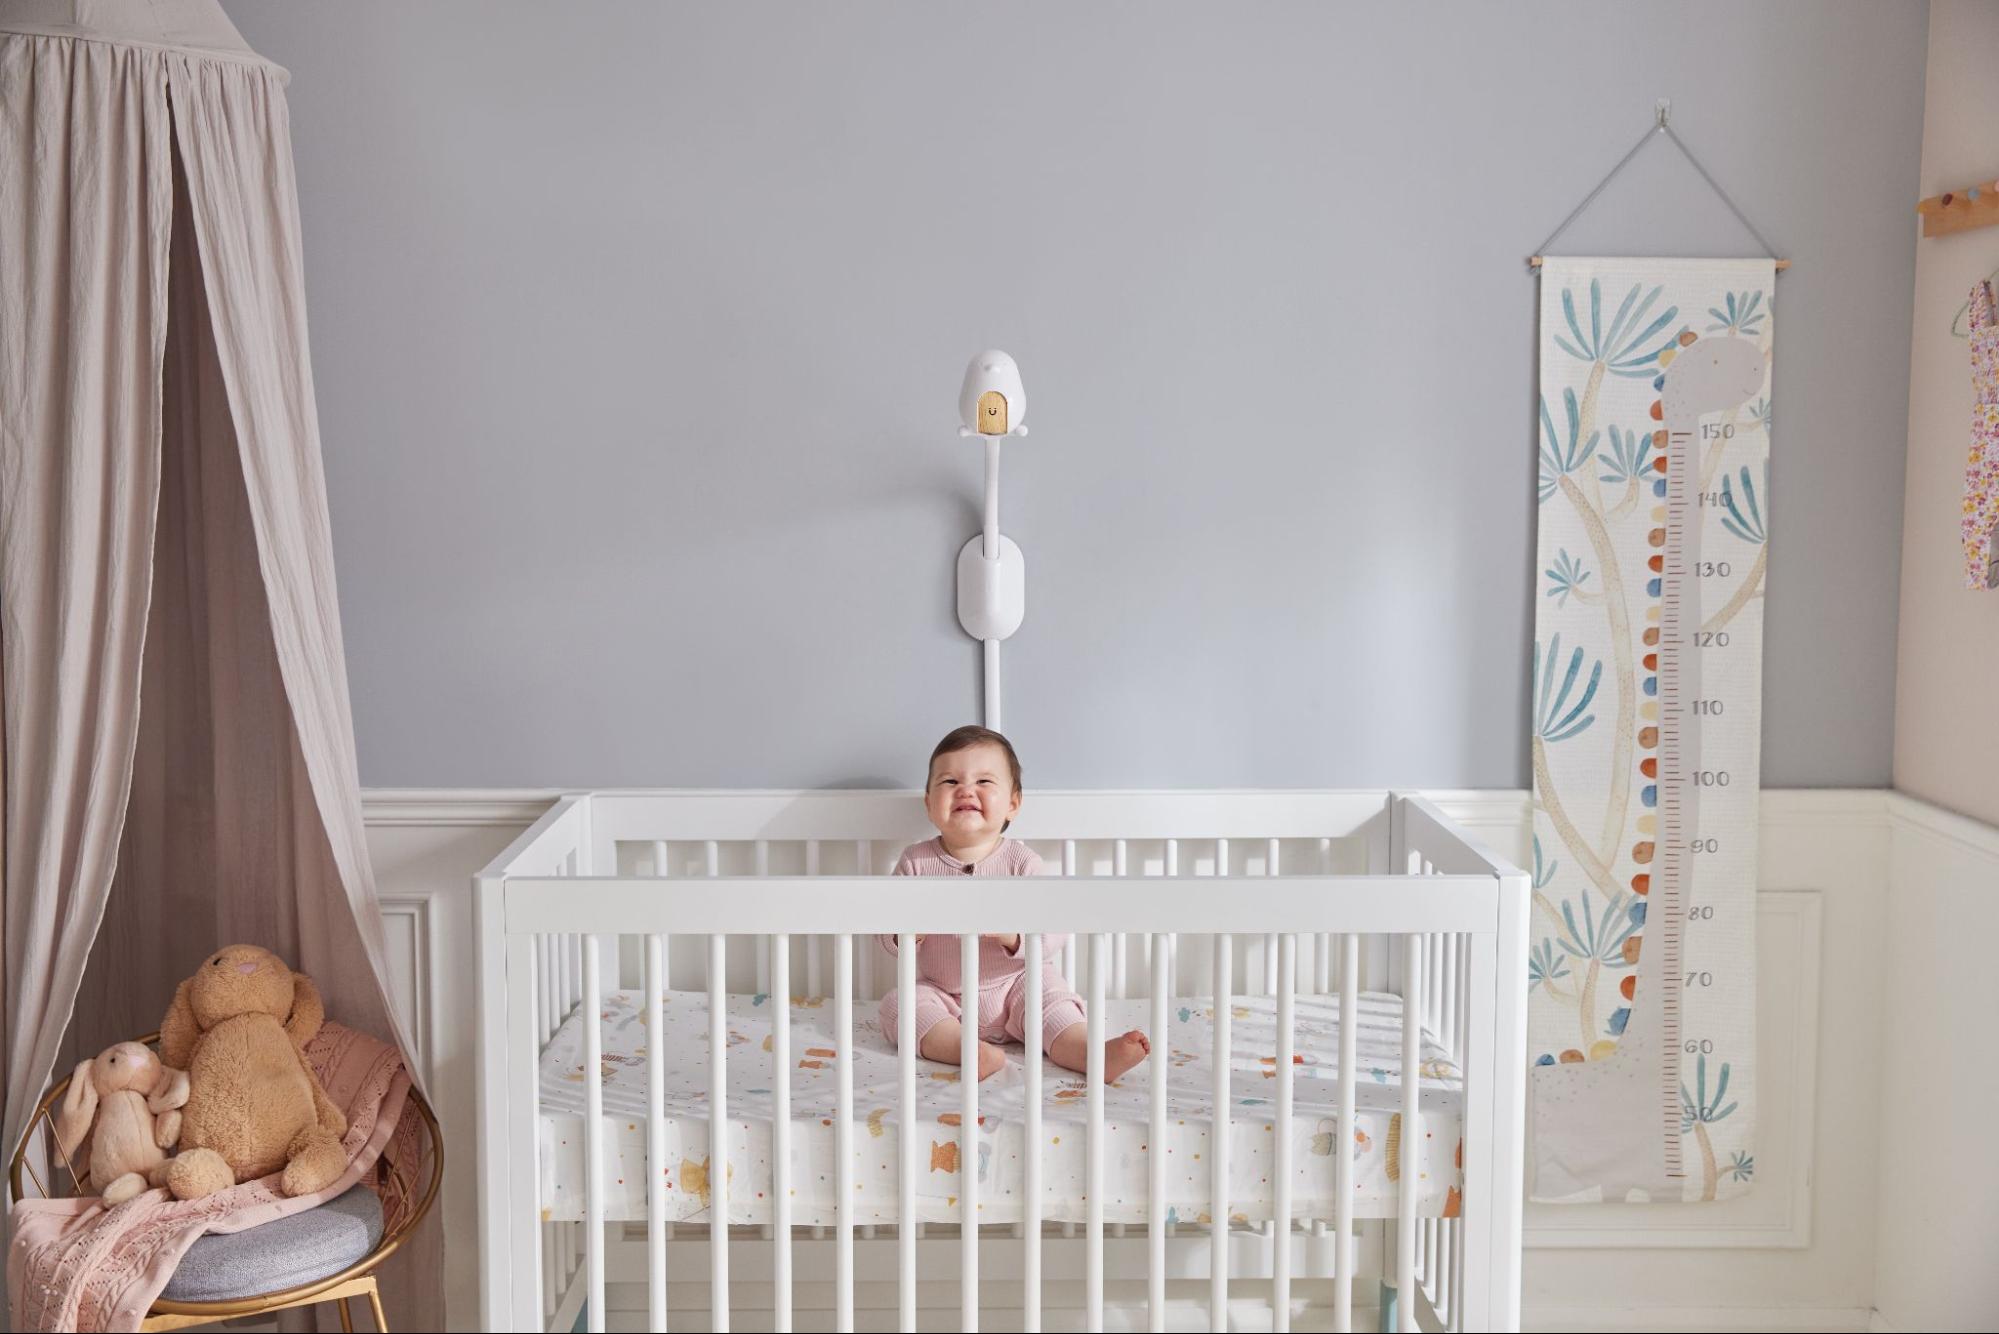
Best Height to Mount a Baby Monitor
Height matters for safety and coverage. Mounting high reduces grabbing and keeps cords away. Eye-level mounting may look natural, but it lets curious hands reach. A height of 6–8 feet is common for wall mounting above a crib. This lets the camera point downward and cover the whole sleep area.
Why eye-level is wrong
Eye-level cameras are tempting for clear faces in snapshots. But they often sit within reach. Babies grow fast and can grab sooner than you think. Hands on the camera can pull it down. Place the monitor where a child cannot touch it.
Why high-angle placement is safer
A high-angle view stops grabbing. It also reduces glare and blind spots. The downward view shows the baby’s chest and legs. This angle makes it easier to confirm sleep position and breathing signs.
How high wall mounting prevents grabbing
Mount the camera above the crib on a solid wall. Use a bracket and secure screws into studs. This prevents pull-down falls and keeps the cord taut and away. The camera is then out of reach even as the baby grows.
How height improves video coverage
High placement widens the field of view. It gives a full crib picture and shows the baby’s arms and legs. Cameras with pan and tilt work well from high mounts. They can scan the whole crib without motion blur.
Best Camera Angle for Video Baby Monitors
Angle affects what you see. Straight-on shots can hide parts of the crib. A downward tilt shows the baby’s whole body. Slight off-center angles can reduce glare and mirror reflections. Aim for a broad view that reveals sleep position and movement.
Why straight-on angles create blind spots
A flat view might show only the top half of the crib. You may miss the baby’s feet or the side where they roll. Objects close to the lens can also blur the image. Use tilt and distance to avoid blind spots.
Why downward angles are safer
A downward view covers the mattress fully. It shows chest rise and limb movement. The baby’s face and belly are both visible. This angle is safer for confirming sleep position.
How to capture full crib view
Center the camera a few feet from the crib and tilt down 30–45 degrees. Use wide-angle lenses if the monitor supports it. If the crib is large or has a mobile, adjust the camera slightly to avoid obstructions. Test at night to ensure the full crib is visible.
How to avoid shining lights into baby’s eyes
Avoid pointing the camera lens at night lights or windows. Reflections can create glare in the video. Angle the frame so infrared or LED lights do not shine directly into the baby’s face. Keep light sources to the side or behind the camera.
Where to Place Audio Baby Monitors
Audio monitors are simple but need good placement. Don’t place the mic right next to the crib. That creates very loud noise and increases cord risk. A distance of 3–8 feet is usually best. Put it where it picks up soft sounds but is safe from reach.
Why audio monitors should not be right next to the crib
Close placement makes every rustle loud and may startle you. It also lets the baby reach cords. Place the unit on a high shelf or dresser, away from the mattress.
Best distance for clear sound
Three to eight feet strikes a balance. This range lets the mic pick up breathing and cries clearly. Too far and the audio can be weak or echo. Place the mic with a direct line of sight to the baby for best clarity.
Avoiding background noise
Place the unit away from fans, HVAC vents, and noisy appliances. Background noise masks soft sounds like sighs or small coughs. Turn off noisy devices at night or move the mic to a quieter spot.
Avoiding vibration and static
Do not place audio monitors on thin shelves that vibrate. Movement creates static or a hum. Firm surfaces reduce vibration and give clearer sound.
Where to Place Wi‑Fi Baby Monitors
Wi‑Fi cameras add convenience and remote viewing. But they depend on strong network signals. Router location, household electronics, and walls affect performance. Place Wi‑Fi monitors to get steady signal and reduce hacking risk.
Why router location matters
Wi‑Fi strength falls with distance and obstacles. Concrete, brick, and metal reduce signal. Place the camera where it gets a stable connection. If needed, use a mesh system or a Wi‑Fi extender to fill gaps.
How to avoid signal drop
Test the camera in the planned spot at night. Check for lag, dropped frames, or lost audio. Move the camera or router if you see interruptions. A dedicated 2.4 GHz band often reaches farther than 5 GHz.
How to reduce hacking risk
Change default passwords. Use strong, unique passwords and two-factor authentication. Keep firmware up to date. Avoid naming the device with personal info. Place non-essential smart devices far from the camera and router.
Why not to place near smart TVs, routers, or microwaves
Electronics can cause interference. Microwaves and some wireless devices operate on similar frequencies. Don’t cluster devices together. Spread them out for better coverage and less noise.
Best Placement for Small Apartments
Small apartments have tight spaces and shared walls. Neighbors and nearby electronics can cause interference. You must plan placement carefully to avoid dead zones. Below are tips for one-bedroom and studio layouts.
Why walls block signals
Thin walls still reduce video and audio quality. Shared walls can cause overlap with neighbor networks. Test the monitor in the actual sleeping setup to be sure.
Why neighbors interfere
Neighbors’ Wi‑Fi and devices can slow your stream. Change channels on your router or switch to a wired backhaul for stronger signal. Use a mesh router to boost coverage across a small space.
Best locations for one-bedroom apartments
Mount the camera on a wall above the crib or bassinet. Place the parent unit in the living area where you spend most time. Keep the router central in the apartment to reduce dropouts.
Best places when nursery and living room are close
If rooms are near, place the monitor where it faces the crib with minimal obstruction. Use the parent unit on a shelf or counter. For Wi‑Fi cameras, test connectivity near walls and around corners.
Best Placement for Houses and Multi‑Story Homes
Houses bring challenges with floors and longer distances. Signal strength drops through floors and stairwells. Planning placement helps avoid dead zones. Think about where you spend time during the day and night.
Upstairs vs downstairs coverage
If the nursery is upstairs, put the parent unit on the main floor in frequently used rooms. Use a central router or mesh network to cover the whole house. For long-range setups, non‑Wi‑Fi units can give more stable links between floors.
Where to put parent unit
Keep the parent unit in the room you use most. A baby monitor is only helpful if you can hear alerts. Place it where it won’t get knocked over and is within the house’s best signal area.
How floors affect signal
Floors with concrete or metal can block signals more than wood. If you have signal problems, use a Wi‑Fi extender or add a wired camera in the nursery. Also test at night when signal needs are highest.
How to avoid dead zones
Walk the house and test streaming video in your usual spots. Move the router, add a mesh node, or change camera placement. Aim for full-house coverage so you don’t miss alerts.
Where Not to Place a Baby Monitor
Some spots are obvious no’s. Avoid these to protect baby and monitor performance. These placements can be dangerous or reduce monitoring accuracy.
- Inside the crib. It can fall or be grabbed.
- On crib rails. A falling unit is a hazard.
- On unstable shelves. Shelves can tip over.
- Near cords. Entanglement risk is high.
- Near heaters or humidifiers. Heat and steam damage devices.
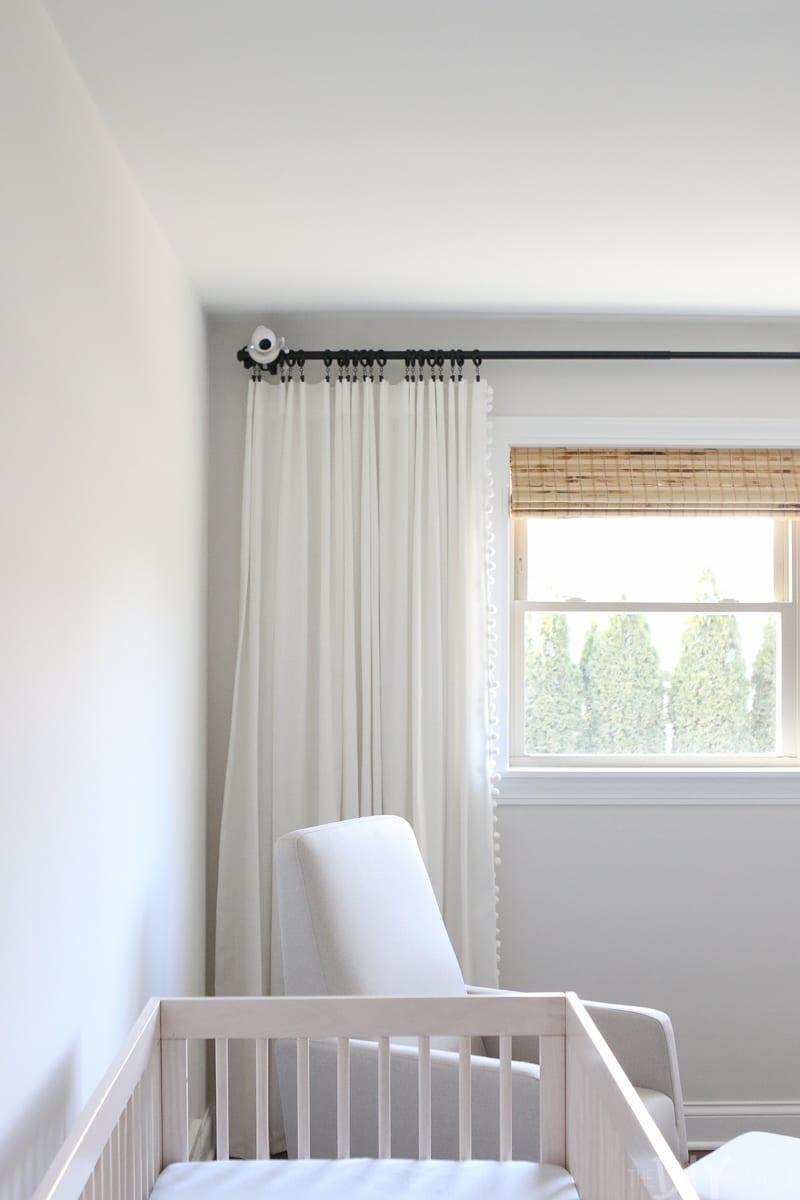
- Near windows. Light causes glare and poor night video.
Each of these placements raises safety or accuracy concerns. Pick stable and out-of-reach spots instead.
Cord and Power Safety
Power cords bring real hazards to the nursery. Loose cords can strangle. Extension cords are risky and can create tripping hazards. Use safe cable management and outlet covers. Follow CPSC and AAP guidance for cords and power.
Why loose cords are dangerous
Loose cords are reachable by rolling or climbing babies. They can form loops around a neck. Even short cords pose risk. Keep cords out of reach and secured tightly to walls.
How to secure power cables
Run cords up and away from the crib and tape them flat against the wall. Use cord covers or raceways and secure screws. Hide excess cable length in a wall conduit or a high, locked box.
Why extension cords are risky
Extension cords can overheat or create tripping hazards. They are temporary solutions not meant for long-term nursery use. If you need extra outlets, install permanent wall outlets near safe mounting points.
How to keep outlets safe
Use outlet covers and keep plugs tight. Install tamper-resistant outlets if you can. Keep spare chargers and adapters out of reach.
Night Vision and Light Safety
Most baby cameras have infrared night vision. Infrared is safe but it can create bright reflections if misaligned. Avoid pointing the lens at the baby’s face. Keep LED or IR lights from shining directly into their eyes.
Infrared camera safety
Infrared light is not visible and is typically safe for babies. However, reflections from glossy surfaces can bounce light into the child’s eyes. Aim the camera so IR rings face the crib at an angle, not directly at the face.
Why light distance matters
Lights too close to baby can be disruptive. Bright LEDs can wake a sleeping baby. Position night-lights and camera LEDs to the side. Use dim, warm lighting for sleep-friendly conditions.
Why cameras should not face baby’s eyes
A camera facing the eyes may shine small LEDs that disturb sleep. Angle the camera to keep sensitive light away from the face. Confirm comfort by checking the baby’s sleep behavior after installation.
How to Test Your Baby Monitor Placement
Testing is the final step. A good setup looks and works well in practice. Test video blind spots, audio sensitivity, and Wi‑Fi stability. Run tests at night when lighting and noise differ.
Checking video blind spots
Stand where the parent unit will be and look at the screen. Move around the crib and watch for missed angles. Adjust height and tilt until the whole mattress is visible.
Checking audio sensitivity
Make small noises at the crib and listen from the parent unit. Cough, whisper, and cry simulation help judge clarity. Reposition the mic if the sound is too quiet or too harsh.
Walking room-to-room
Walk through your home with the parent unit and phone app. Check for lag and dropped connections. Note any rooms where the signal stumbles and adjust hardware placement or add mesh nodes.
Testing at night
Nighttime brings different noises and low light. Test under dark conditions and check night vision performance. Listen for fan hums or HVAC noise that may interfere with audio clarity.
Testing Wi‑Fi stability
For Wi‑Fi monitors, test streaming from outside the home too. If you need reliable remote viewing, confirm upload speed and security settings. Update firmware and change passwords if you see issues.
Common Baby Monitor Placement Mistakes
Many parents make the same errors. These mistakes undermine safety and monitoring accuracy. Watch for these pitfalls and fix them quickly.
- Placing the monitor too close to the crib.
- Mounting the camera too low.
- Hiding the camera behind furniture.
- Pointing the camera at windows or lights.
- Clustering devices near routers or microwaves.
- Using loose extension cords or unsecured mounts.
Avoid these and you will get clearer audio, better video, and a safer space.
What Child Safety Experts Recommend
Experts emphasize safe sleep and hazard-free nurseries. The American Academy of Pediatrics (AAP) recommends keeping soft items and cords away from the crib. The Mayo Clinic and Consumer Reports also stress device security and good sleep practices. Follow their advice for placement and safety.
Pediatric safety rules
Pediatricians say the crib should be bare. Electronics and cords are not crib items. Keep monitors out of reach and use wall mounts for cameras. Check the baby often and trust a clear camera view over guesses.
Sleep safety
Safe sleep means back to sleep and a firm mattress. Monitors are tools, not substitutes for safe bedding. Use monitors to confirm position and comfort, not to delay checks in risky situations.
Technology safety
Devices require good security practices. Change default login details and update firmware. If you use a Wi‑Fi camera, use strong passwords and two-factor authentication. Consider non‑Wi‑Fi monitors if you are uneasy about online access.
Conclusion
Correct placement keeps your baby safe. It also improves signal and reduces false alarms. A well-placed monitor prevents accidents and lowers stress. Test placement, secure cords, and follow AAP and CPSC guidance. A smart setup makes monitoring truly useful.
Frequently Asked Questions
Q: How far should a baby monitor be from a crib?
A: Keep the monitor and cords at least 3 feet away from the crib. Mount cameras high and out of reach. The exact distance depends on the camera model, but never place the device within arm’s reach.
Q: Can baby monitors fall into the crib?
A: Yes. Monitors on rails or unstable shelves can fall. Always use secure mounts and place cameras above the crib, fixed to a wall or stable bracket.
Q: Is it safe to put a baby monitor on a shelf?
A: Only if the shelf is stable and the monitor is out of reach. Secure cords and use a shelf with a lip or guard. Prefer wall mounts that screw into studs for long-term safety.
Q: Where should I place a monitor in a small apartment?
A: Mount the camera above the crib on a solid wall. Put the parent unit in your main living space. Use mesh Wi‑Fi or an extender if the router is far from the nursery.
Q: Is wall‑mounting better than table placement?
A: Wall mounting is safer for most setups. It reduces reach and fall risk. Table placement can be okay if the device is stable, cords are secured, and the camera is out of grasp.
Final tips in one line: mount high, angle down, keep cords out of reach, test at night, and secure your Wi‑Fi to protect both the baby and your peace of mind.

Emma Grace is a devoted mother and passionate content writer at BestBabyCart.com. With firsthand parenting experience and a love for research, she creates helpful guides and honest reviews to support parents in choosing the best for their babies. Her goal is to make parenthood easier, one article at a time.