Install a car seat without a base by routing the vehicle belt through the seat’s belt path and tightening firmly.
I’ve installed dozens of car seats in many cars. I know the feel of a loose belt and the worry a parent carries. This guide explains how to install car seat without base with clear steps, safety checks, and real-world tips. You’ll get practical, proven methods to secure both rear-facing and forward-facing seats without a base. Read on to learn the exact checks and adjustments that keep your child safe.
Understanding car seats that can be used without a base
Not every infant or convertible seat is meant to be used without a base. Many infant-only seats rely on a separate base to lock in place. Convertible and some infant seats include clear belt paths on the shell. Before you try to learn how to install car seat without base, check your manual and labels. The manual tells you approved installations, belt path locations, and angle indicators.
- Check the seat label for “vehicle belt installation.”
- Look for forward- and rear-facing belt paths stamped on the shell.
- Confirm the seat has an angle indicator or adjustable foot for correct tilt.

Safety basics before you install
Safety starts with knowing your car and your seat. A poor fit can reduce performance in a crash. Always inspect the seat for damage and review the vehicle owner’s manual for belt routing rules.
- Confirm the vehicle seat belt latches and retracts smoothly.
- Remove bulky clothing from the child before buckling.
- Know your car’s seating positions that have lap-and-shoulder belts and top tether anchors.

Tools and items to have on hand
You do not need fancy tools. A few items make the job easier and safer.
- Car seat manual and vehicle owner’s manual on hand.
- A soft cloth to help with belt routing or recess gaps.
- A seat lock or knee to press the car seat while tightening.
- A smartphone to take a photo of the installation for reference.

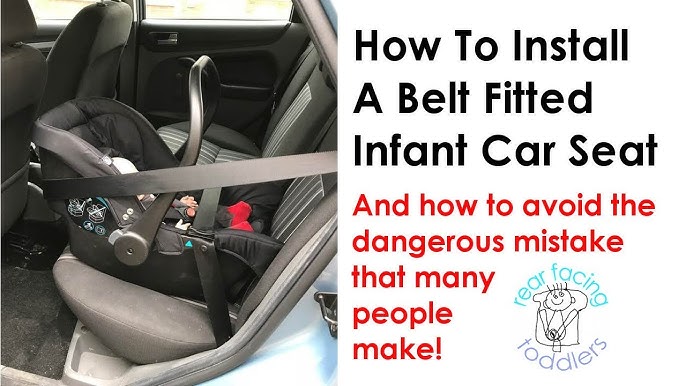
Step-by-step: how to install car seat without base (rear-facing)
Follow these clear steps when installing an infant or convertible seat rear-facing without a base.
- Read both manuals. Know the belt path and angle requirements.
- Position the car seat on the vehicle seat where the child will ride.
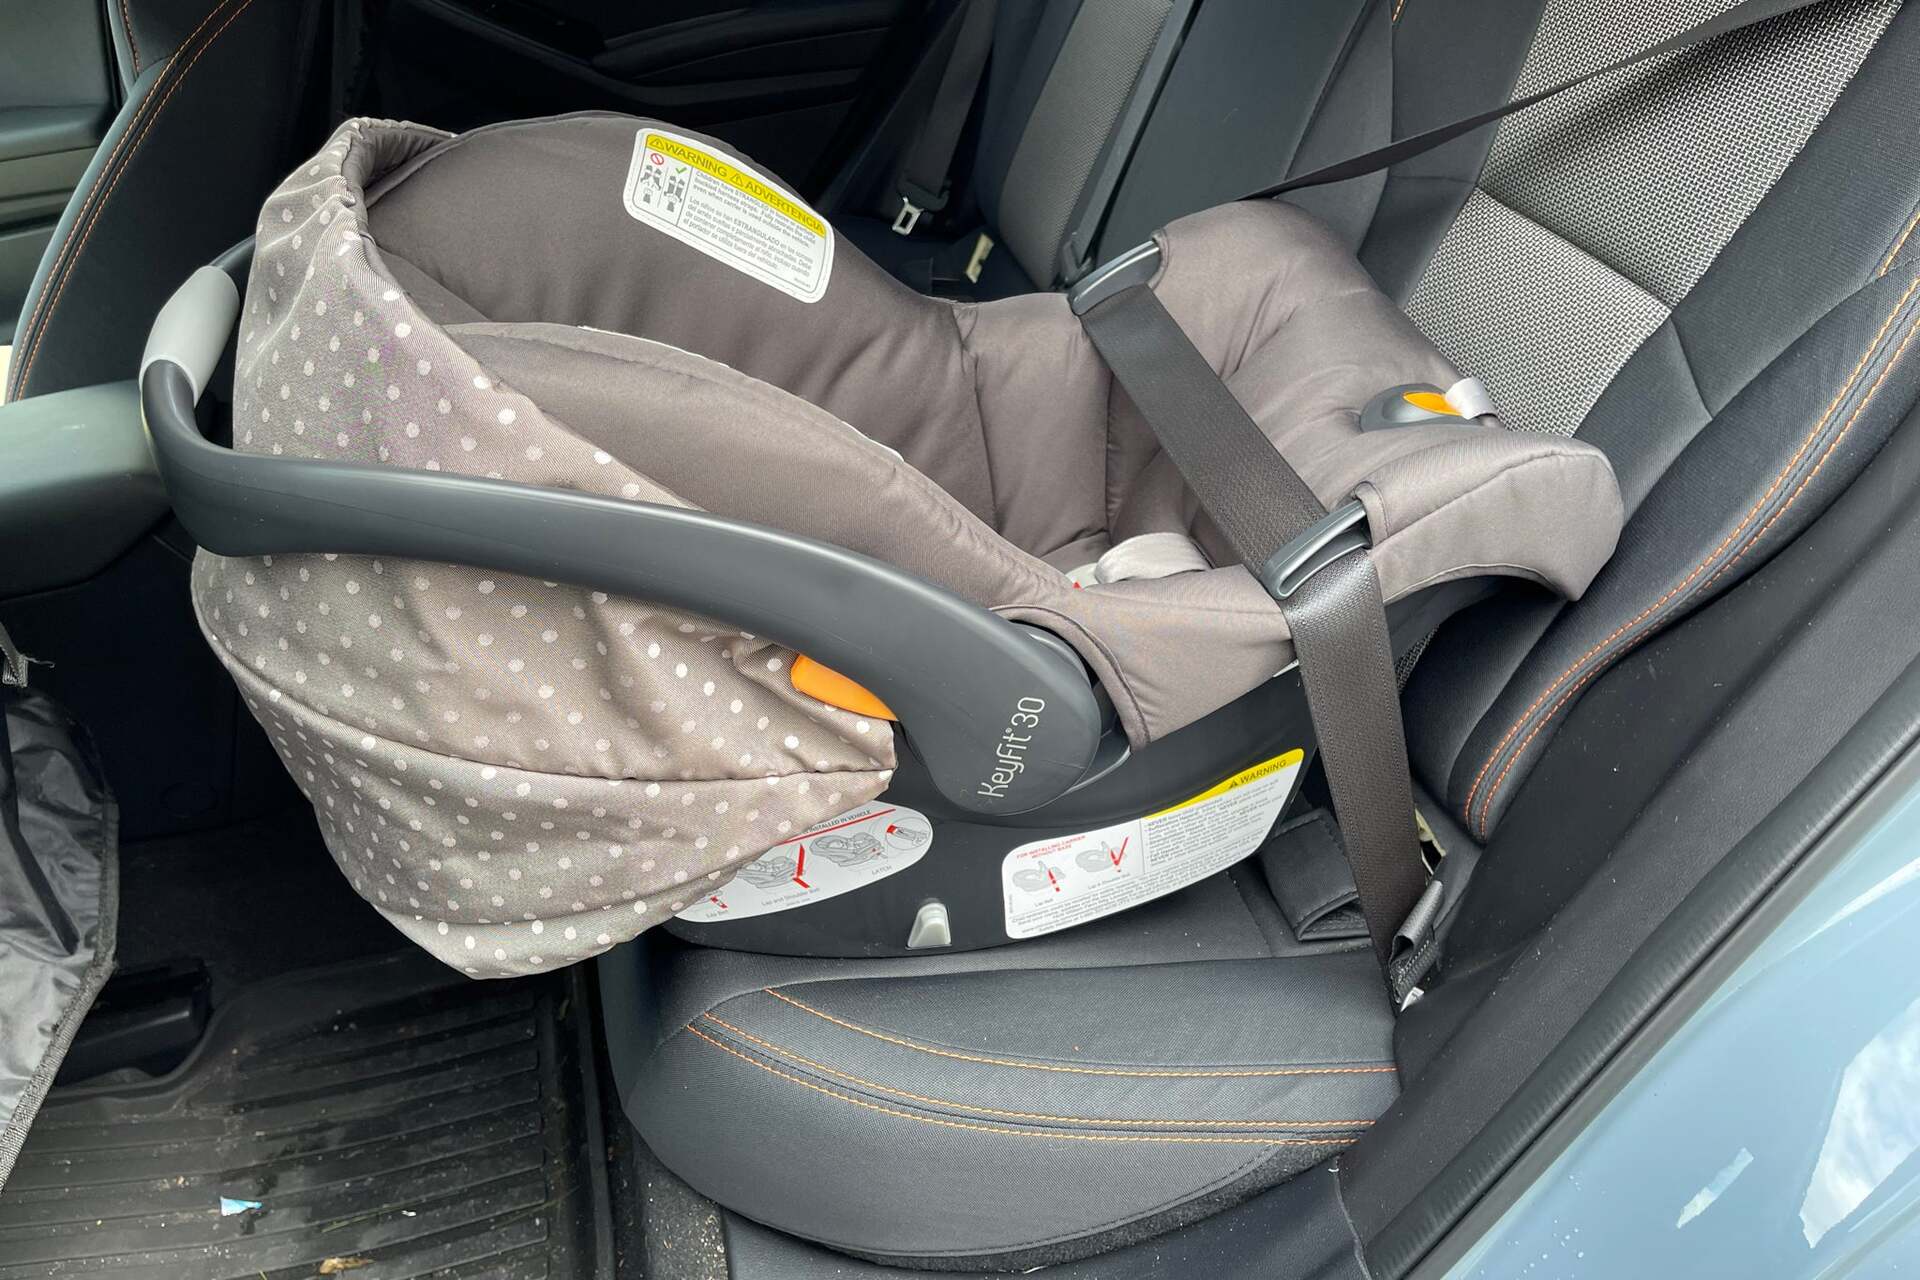
- Locate the rear-facing belt path on the car seat shell.
- Thread the vehicle lap and shoulder belt through that path. Ensure the belt is not twisted.
- Buckle the belt and engage the locking mode. Most modern cars lock by pulling the belt all the way out, then letting it retract to engage the lock.
- Press the car seat down with your knee while pulling the shoulder belt tight to remove slack from the lap portion.
- Push the top of the car seat toward the vehicle seat back and tighten again.
- Check the angle indicator. Adjust with the built-in foot or rolled towel to meet the correct recline.
- Perform the 1-inch test: at the belt path, the seat should move less than 1 inch side-to-side or front-to-back.
- Secure the child and harness correctly, ensuring the chest clip is at armpit level.
Tips from experience: Tighten in short pulls and keep the belt low across the pelvis. If the seat rocks, re-route the belt or try another seating position.

Step-by-step: how to install car seat without base (forward-facing)
For older babies and toddlers using the forward-facing mode, follow these steps.
- Confirm the seat can be forward-facing without a base.
- Position the car seat in a rear seat with a lap and shoulder belt.
- Route the belt through the forward-facing belt path on the shell.
- Buckle the belt and lock it using your vehicle’s locking method.
- Push down firmly on the car seat and pull the belt tight to remove slack.
- Attach and tighten the top tether to the vehicle anchor, if available.
- Check for less than 1 inch of movement at the belt path.
- Adjust the harness so it sits at or above the child’s shoulders and test the fit.
From my experience, the top tether cuts forward motion in a crash. Always use it when the seat supports it and when tether anchors are present.

How to lock a seat belt for car seat installations
Locking the vehicle belt is essential when you learn how to install car seat without base. Most modern cars have one of two systems.
- Emergency-locking retractor: Pull the belt all the way out and allow it to retract. The retractor will lock.
- Switchable retractor or locking clip: Some older cars need a locking clip installed at the buckle. Use the clip per the car seat manual.
If you are unsure which system your car uses, test the belt by pulling it out and then tugging sharply. If it locks, you can use that method.
Checking harness fit, angle, and tightness
A secure seat is not just tight—it's correct. Check these points after installation.
- Harness straps lie flat and are not twisted.
- Chest clip is at armpit level.
- Harness is snug: you cannot pinch any excess webbing at the shoulder.
- Seat tilt matches the label for rear-facing; adjust as necessary.
I once tightened a seat until it felt rigid, but the chest clip sat too low. Small checks like clip height make a big safety difference.

Common mistakes and how to avoid them
Avoid these common pitfalls when you learn how to install car seat without base.
- Using a seating position with only a lap belt for infant rear-facing seats that require lap-and-shoulder belts.
- Leaving slack in the belt at the belt path.
- Forgetting to lock the vehicle belt or use a locking clip when needed.
- Placing the chest clip too low or allowing twisted harness straps.
- Installing at the wrong recline angle.
A simple rule: if it moves more than 1 inch, tighten it again.
Troubleshooting and alternative strategies
Some cars make belt installations tricky. Try these fixes.
- Move the seat to a different rear seating position with a better belt angle.
- Use a rolled towel under the car seat base area to adjust angle if the seat has no built-in adjustment.
- If you can’t lock the belt, use a locking clip if the car seat manual allows it.
- Visit a car-seat-check event or local inspection station for hands-on help.
I once switched a seat from the center to the passenger side and the belt path aligned perfectly. Small moves can solve many issues.
Legal and safety notes
Laws differ by place. Many safety groups strongly prefer base installations for infant-only seats, but proper belt installations are legal and safe when done per manuals. Always follow manufacturer instructions and local laws.
- Never use expired or damaged car seats.
- If a car seat was in a moderate or severe crash, replace it per the manufacturer’s guidance.
- Consider professional fitting help if unsure.
When to seek professional help
If you cannot achieve less than 1 inch of movement, the belt won’t lock, or the correct recline cannot be reached, get help. Certified child passenger safety technicians can inspect and correct installations.
- Signs you need help: continual rocking, inability to lock belt, unclear belt path.
- Where to go: car-seat-check events, fire stations, or hospitals that offer fitting services.
Personal lessons and practical tips
From installing many seats, I learned to slow down, read both manuals, and take a photo of the final install. Photos help you re-install the seat correctly later. Keep the manual in the glove box. Practice tightening the belt several times to get a feel for the locking mechanism.
Frequently Asked Questions of how to install car seat without base
Can all car seats be installed without a base?
No. Not all car seats are designed for belt-only installations. Check your car seat manual to confirm the manufacturer allows installation without a base.
How tight should the seat belt be when installing without a base?
Tight enough that the seat moves less than 1 inch at the belt path when you try to twist or pull it. Use your knee or body weight to press the seat down while tightening.
Can I use a locking clip if my car belt won’t lock?
Yes, if the car seat manual allows a locking clip. Some vehicles use an automatic locking retractor, and some require a locking clip. Follow both manuals.
Is the top tether required when installing without a base forward-facing?
Yes, use the top tether when installing a forward-facing child seat if the seat and vehicle have tether anchors. It reduces forward motion.
When should I replace a car seat after a crash?
Replace the car seat after any moderate or severe crash. For minor crashes, consult the car seat manufacturer’s guidance for whether replacement is needed.
Conclusion
You can safely learn how to install car seat without base by reading both manuals, routing the belt through the correct belt path, locking the belt, and performing tightness and angle checks. Practice and small adjustments make a big safety difference. Now take a calm step: re-read your manuals, try a correct install, and if unsure, get a professional check. Share your questions or a photo of your install to get feedback, and subscribe or comment for more hands-on car seat tips.

Emma Grace is a devoted mother and passionate content writer at BestBabyCart.com. With firsthand parenting experience and a love for research, she creates helpful guides and honest reviews to support parents in choosing the best for their babies. Her goal is to make parenthood easier, one article at a time.