
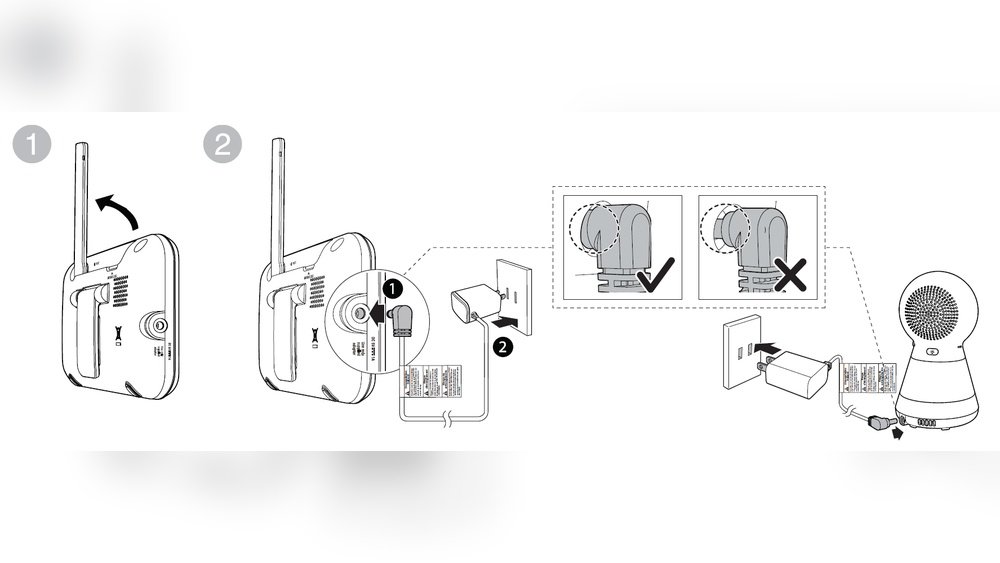
Setting up a new Vtech baby monitor can feel overwhelming for first-time parents, but pairing the parent and baby unit only takes a few minutes if you follow the right steps for your model. This guide covers all current 2025/2026 Vtech RF and Wi-Fi monitor lines, with concrete troubleshooting tips for common issues, so you can get up and running fast and focus on caring for your little one. A properly paired monitor delivers clear audio, lag-free video, and reliable alerts, giving you the peace of mind to step away for quick tasks or even plan stress-free naptime outings stress-free naptime outings without worrying about your baby.

Which Vtech Model Do You Have?
Pairing steps vary slightly between Vtech’s product lines, so confirming your model first will save you time and avoid frustration. Vtech splits its baby monitors into three core categories: audio-only, entry-level video, and premium video, each with unique pairing requirements. You can also read our guide on outlet covers cabinet locks bundle.
Popular Current Vtech Models
- DM221: The budget-friendly audio-only pick, with a 1,000-foot open-space range, 8-hour parent unit battery life, and 12-hour baby unit battery life. It’s ideal for small to medium homes where you only need audio alerts for crying or noise.
- VM326: The 2025 entry-level video model, with a 2.8-inch color screen, 2-way talk, infrared night vision, and an 800-foot indoor range. It’s perfect for parents who want basic video monitoring without extra features.
- VM543: The 2026 premium video flagship, with a 5-inch split-screen, remote pan-tilt-zoom, built-in temperature sensor, lullabies, and support for up to 4 baby units. It has a 1,000-foot indoor range, making it ideal for large or multi-story homes.
Key Pairing Variations by Model
Note that Wi-Fi enabled RM series models pair differently than standard RF DM/VM lines: RM units connect to your home Wi-Fi network and sync via the Vtech Baby app, rather than using direct radio frequency pairing. This guide focuses on the more common RF DM/VM models, which do not require an internet connection to work.
When setting up the baby unit, place it on a stable surface at least 3 feet from the crib, with a clear line of sight free of excess crib clutter to avoid obstructed views of your little one. You can also read our guide on pair vtech baby monitor 1024×815.
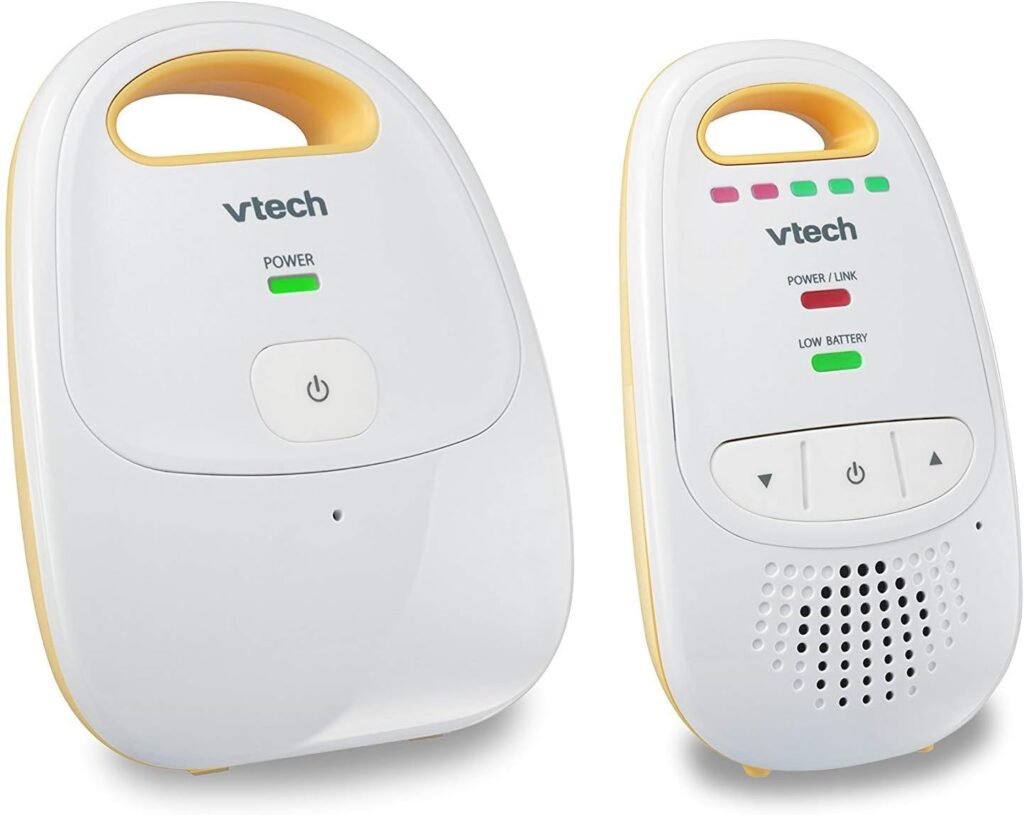 Entry-level audio model ideal for small to medium homes
amazon.com
Entry-level audio model ideal for small to medium homes
amazon.com
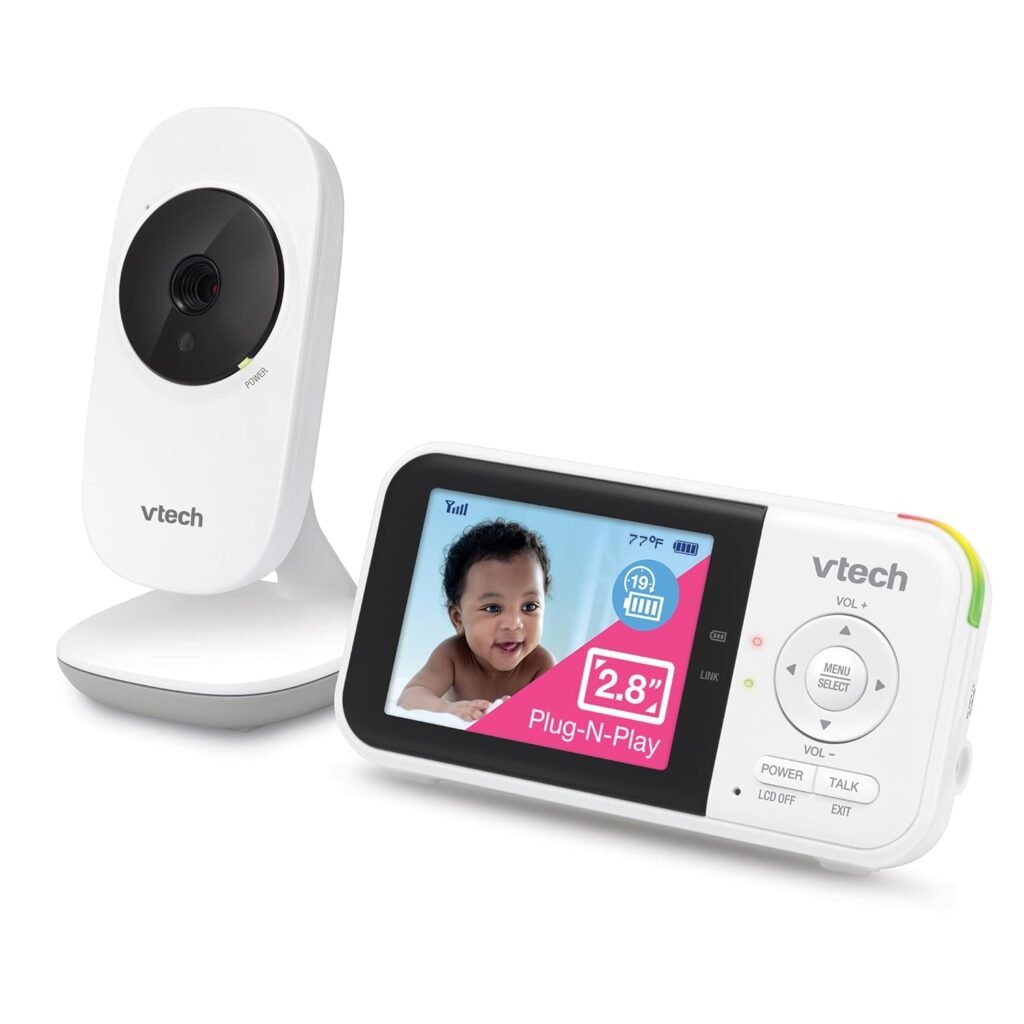 Mid-tier video model with night vision and two-way talk
amazon.com
Mid-tier video model with night vision and two-way talk
amazon.com
Pre-Pairing Preparation: What You’ll Need
Five minutes of prep before pairing will prevent 20 minutes of troubleshooting later. Follow these steps to ensure a smooth setup process.
Unbox and Verify Components
- Lay out all parts on a flat, well-lit surface, and check against the included manual to confirm you have the parent unit, baby unit, 2 power adapters, mounting hardware, and any included cables.
- Inspect each part for shipping damage; contact the seller immediately if any components are cracked, dented, or non-functional.
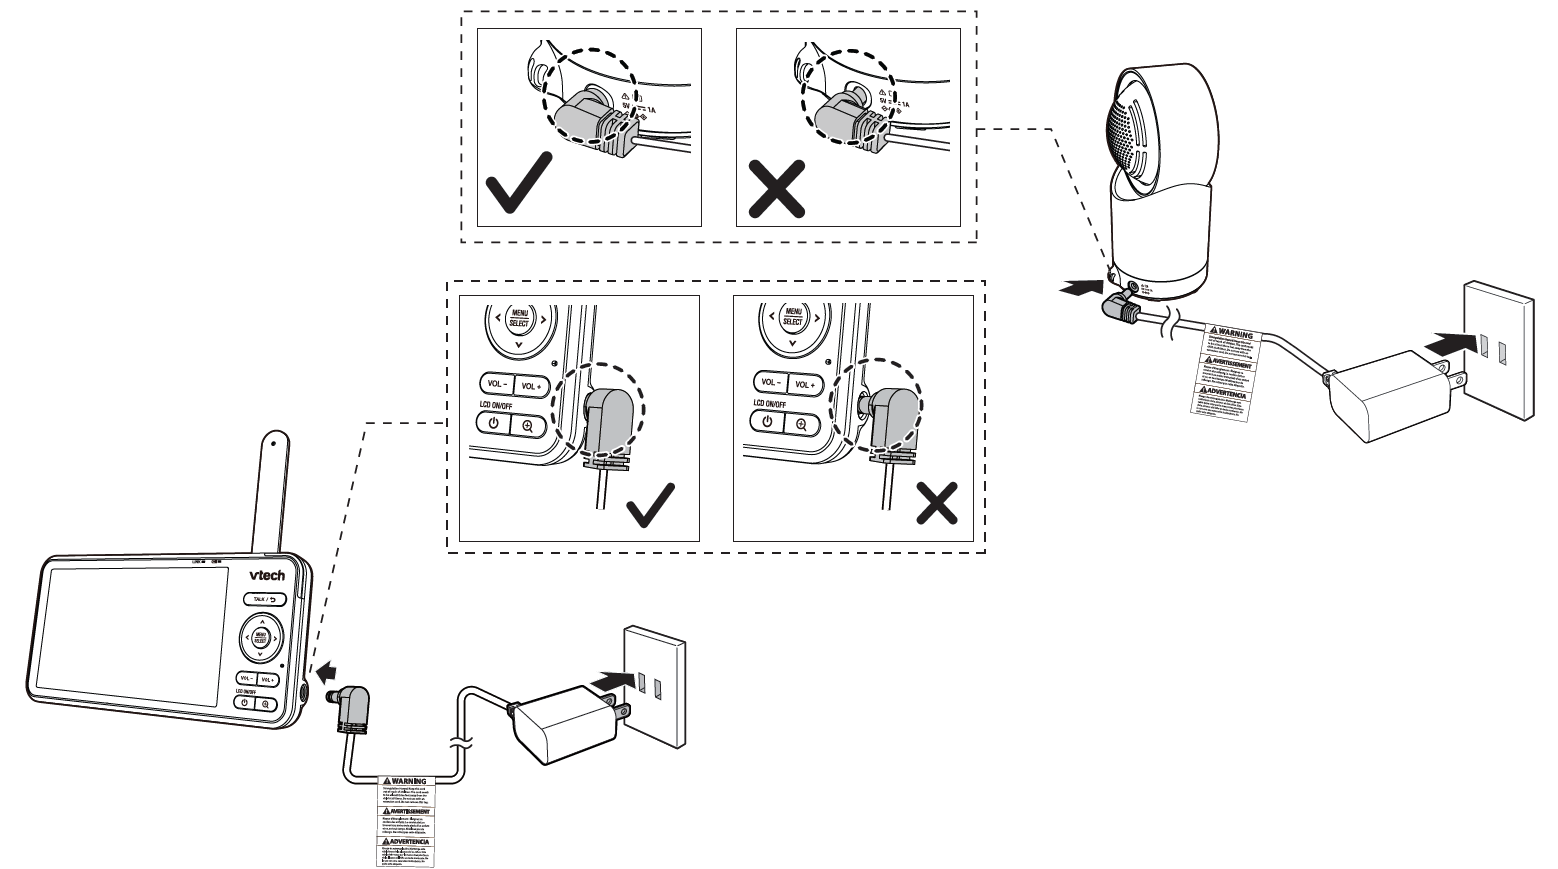
- A common mistake that blocks pairing is using a third-party power adapter with lower voltage than the included Vtech adapter. Always use the included power supplies to avoid damage or connection failures.
As you unbox your monitor, take a quick inventory of your nursery essentials, including age-appropriate feeding supplies to make sure you’re fully stocked for your baby’s arrival. You can also read our guide on black friday baby monitor deals.
Charge Both Units Fully
Both the parent and baby unit need at least 80% charge before pairing to avoid mid-process shutdowns. Plug each unit into the included wall adapter (avoid power strips shared with other high-draw devices like space heaters, as voltage dips can disrupt charging). Most models take 2 hours to fully charge, indicated by a solid green LED on the unit. Keep both units within 3 feet of each other during the entire pairing process to ensure a strong initial connection.
Step-by-Step Pairing Instructions
There are two pairing methods, depending on whether you’re setting up a single camera or multiple units for multi-room monitoring. You can also read our guide on best baby monitor for car.
Automatic Pairing (Fastest Method for Single Camera)
This is the default method for most users, and takes 30-60 seconds to complete:
- Power on both the parent and baby unit, and wait for the startup chime to play on both devices, indicating they are fully booted.
- On the baby unit, locate the recessed PAIR button (usually on the back or bottom edge). Use a paperclip to press and hold it for 3 seconds until the status LED flashes blue.
- On the parent unit, press the MENU button to open the settings menu, navigate to Camera Setup > Add New Camera, then press OK to confirm.
- Wait 30-60 seconds for the units to connect. The LED on both units will turn solid blue, and the parent unit will display a live feed from the baby unit, confirming successful pairing.
For model-specific button locations and menu navigation, refer to the official Vtech support documentation for your exact model number, found printed on the bottom of each unit.
Manual Pairing for Multiple Cameras
If you want to connect 2 or more baby units to a single parent unit, you’ll need to assign each to a unique camera slot:
- Put the new baby unit into pairing mode as outlined in the automatic method above.
- On the parent unit, go to Camera Setup — you’ll see a list of available slots labeled Camera 1, Camera 2, etc. Empty slots will show "Not Connected".
- Select the empty slot you want to assign to the new unit, confirm the selection, and wait for the connection to complete.
- Repeat for any additional baby units.
Most current Vtech models support up to 4 baby units per parent unit, but older budget models may only support 2. Check your model’s manual for exact limits. If you’re replacing a lost or broken camera, you’ll need to reset the parent unit first to clear old pairing data: hold the recessed RESET button on the back of the parent unit for 10 seconds until the screen goes black, then restart. You can also read our guide on 61mv2awstpl. sl1500 1024×1024.
 Recessed pairing button on the baby unit, use a paperclip to press
Credit: manuals.plus
Recessed pairing button on the baby unit, use a paperclip to press
Credit: manuals.plus
 Navigate to Camera Setup to add a new paired unit manually
Credit: vtech.zendesk.com
Navigate to Camera Setup to add a new paired unit manually
Credit: vtech.zendesk.com
Troubleshooting Common Pairing Issues
Even with perfect prep, minor issues can pop up. Below are fixes for the most common problems, based on aggregated data from Vtech support forums and user feedback.
Connection Drops or "No Signal" Errors
Connection issues are almost always caused by one of four factors:
- Low battery: Confirm both units have at least 50% charge. The baby unit’s battery drains faster than the parent unit’s, so charge it fully before pairing.
- Range limitations: Walls, metal siding, and large appliances can reduce the 1,000-foot rated range to as little as 100 feet indoors. Move the units closer together, or place the baby unit in a more central location in your home.
- RF interference: Cordless phones, microwaves, and other 2.4GHz devices can disrupt the monitor’s signal. Move these devices away from the monitor units, or switch your home Wi-Fi router to the 5GHz band to reduce overlap.
- Incorrect power adapter: Third-party adapters with lower voltage than the included Vtech adapter will prevent proper pairing and cause intermittent dropouts. Always use the included power supplies.
A common mistake that triggers pairing failures is holding the pairing button for more than 5 seconds, which activates the unit’s factory reset mode instead of pairing mode. Re-pair using the steps above if this happens. You can also read our guide on how to link vtech baby monitor.
Audio-Video Sync Issues
If the audio lags more than 1 second behind the video, try these fixes:
- Restart both units to clear temporary glitches caused by software bugs.
- For models with split-screen mode, lag is normal when viewing 2+ cameras at once. Switch to single-camera view for real-time feed if you need sync for soothing or checking on your baby.
- Update your firmware: on the parent unit, go to Settings > System > Firmware Update and follow the prompts. Vtech releases free firmware updates 2-3 times per year to fix performance bugs, including sync issues.
- If lag persists, remove physical obstructions between the units or move them closer together.
For additional safety guidance on nursery device placement, review the CPSC baby monitor safety guidelines to avoid strangulation or suffocation hazards from loose cords.
Post-Pairing Settings Optimization
Once your units are paired, adjust these settings to get the most out of your monitor and reduce false alerts.
Audio and Display Settings
- Set the parent unit volume to a level where you can hear quiet crying but won’t be woken by white noise from the baby’s room. For light sleepers, enable vibration alerts on the parent unit for silent notifications.
- Adjust screen brightness: use the lowest comfortable setting at night to avoid glare and extend battery life. Most 2025+ models have an auto-brightness sensor that adjusts for ambient light automatically.
- Test the two-way talk feature right after pairing: press and hold the talk button on the parent unit and speak clearly to confirm the baby unit’s microphone is working. Many models ship with the microphone muted by default to avoid accidental feedback.
Alert Customization
- Set temperature alerts to notify you if the nursery drops below 65°F or rises above 75°F, using seasonal layering guidance to adjust your baby’s clothing and room settings accordingly.
- Adjust motion and sound sensitivity: set it to medium for most use cases. High sensitivity will trigger alerts for small movements or background noise, while low sensitivity may miss quiet crying.
- Customize alert tones to distinguish baby monitor alerts from your phone, doorbell, or other household devices to avoid confusion.
Range Testing
Walk around your home with the parent unit to test for signal drop: check the nursery, your bedroom, kitchen, and any outdoor areas you frequent. If you notice dropouts in specific rooms, move the baby unit to a more central location or add a signal extender (sold separately for most Vtech models). You can also read our guide on best split screen non wifi baby monitors.
Frequently Asked Questions
How long does Vtech baby monitor pairing take?
Automatic pairing for a single camera takes 30-60 seconds, while manual pairing for multiple cameras takes 2-3 minutes. If the process takes longer, your units are likely out of range or have low battery.
Can I pair my Vtech monitor to my smartphone?
Only Wi-Fi enabled RM series models work with the Vtech Baby app for remote viewing outside your home. Standard RF DM/VM series models only pair to the included parent unit, and cannot connect to mobile devices. You can also read our guide on what did people do before diapers.
Why does my monitor say "Camera Not Found" after pairing?
This is almost always caused by out-of-range placement, dead batteries, or RF interference. Try moving the units closer, charging them fully, and moving other 2.4GHz devices away from the monitor.
How many baby units can I pair to one parent unit?
Most current Vtech models support up to 4 baby units per parent unit, but older budget models may only support 2. Check your model’s manual for exact limits. You can also read our guide on filterless cool mist nursery humidifier.
Do I need to re-pair my monitor after a power outage?
No, most Vtech models retain their pairing data even after a full power loss. Both units will automatically reconnect when powered back on, as long as they are within range.
How do I reset my Vtech monitor if pairing fails?
Hold the recessed RESET button on the back of both the parent and baby unit for 10 seconds until the screens go black. Restart both units, then follow the automatic pairing steps again.
Final Tips for Long-Term Reliability
Pairing is a one-time process for most users, but these tips will keep your monitor working reliably for years:
- Update your firmware every 3-6 months to fix bugs and improve performance.
- Avoid placing the baby unit near Wi-Fi routers, microwaves, or cordless phones to reduce interference.
- Charge the parent unit every 2-3 weeks even if you don’t use it regularly, to preserve long-term battery health.
- If you move to a new home, re-test the range after setup, as new walls and layout can reduce signal strength.
- For parents who travel with their baby, the lightweight parent unit folds easily into a diaper bag for on-the-go monitoring, just like compact stroller folding.
A properly paired Vtech baby monitor gives you peace of mind without the tech stress, letting you focus on what matters most: caring for your little one. If you run into issues not covered here, Vtech’s 24/7 support line is available for model-specific troubleshooting. Once your monitor is set up, you’ll be able to check in on your baby from anywhere in your home, no matter how busy your day gets.

Emma Grace is a devoted mother and passionate content writer at BestBabyCart.com. With firsthand parenting experience and a love for research, she creates helpful guides and honest reviews to support parents in choosing the best for their babies. Her goal is to make parenthood easier, one article at a time.